white tea light candles
- Blog
- white tea light candles
tea set
Okay, so I’ve been wanting to get into candle making for a while, specifically those cute little white tea lights. I finally took the plunge and wanted to share how it all went down.
First things first, I needed supplies. I gathered:
Put some water in my pot and placed the heat-safe bowl on top, making sure the water didn’t touch the bottom of the bowl. Then,I added the soy wax flakes to the bowl and turned the heat to medium-low. The key here is patience, you don’t want to scorch the wax. I kept an eye on the thermometer and stirred occasionally with my * took a little while, but the wax slowly started to melt.
I amied for around 185°F.
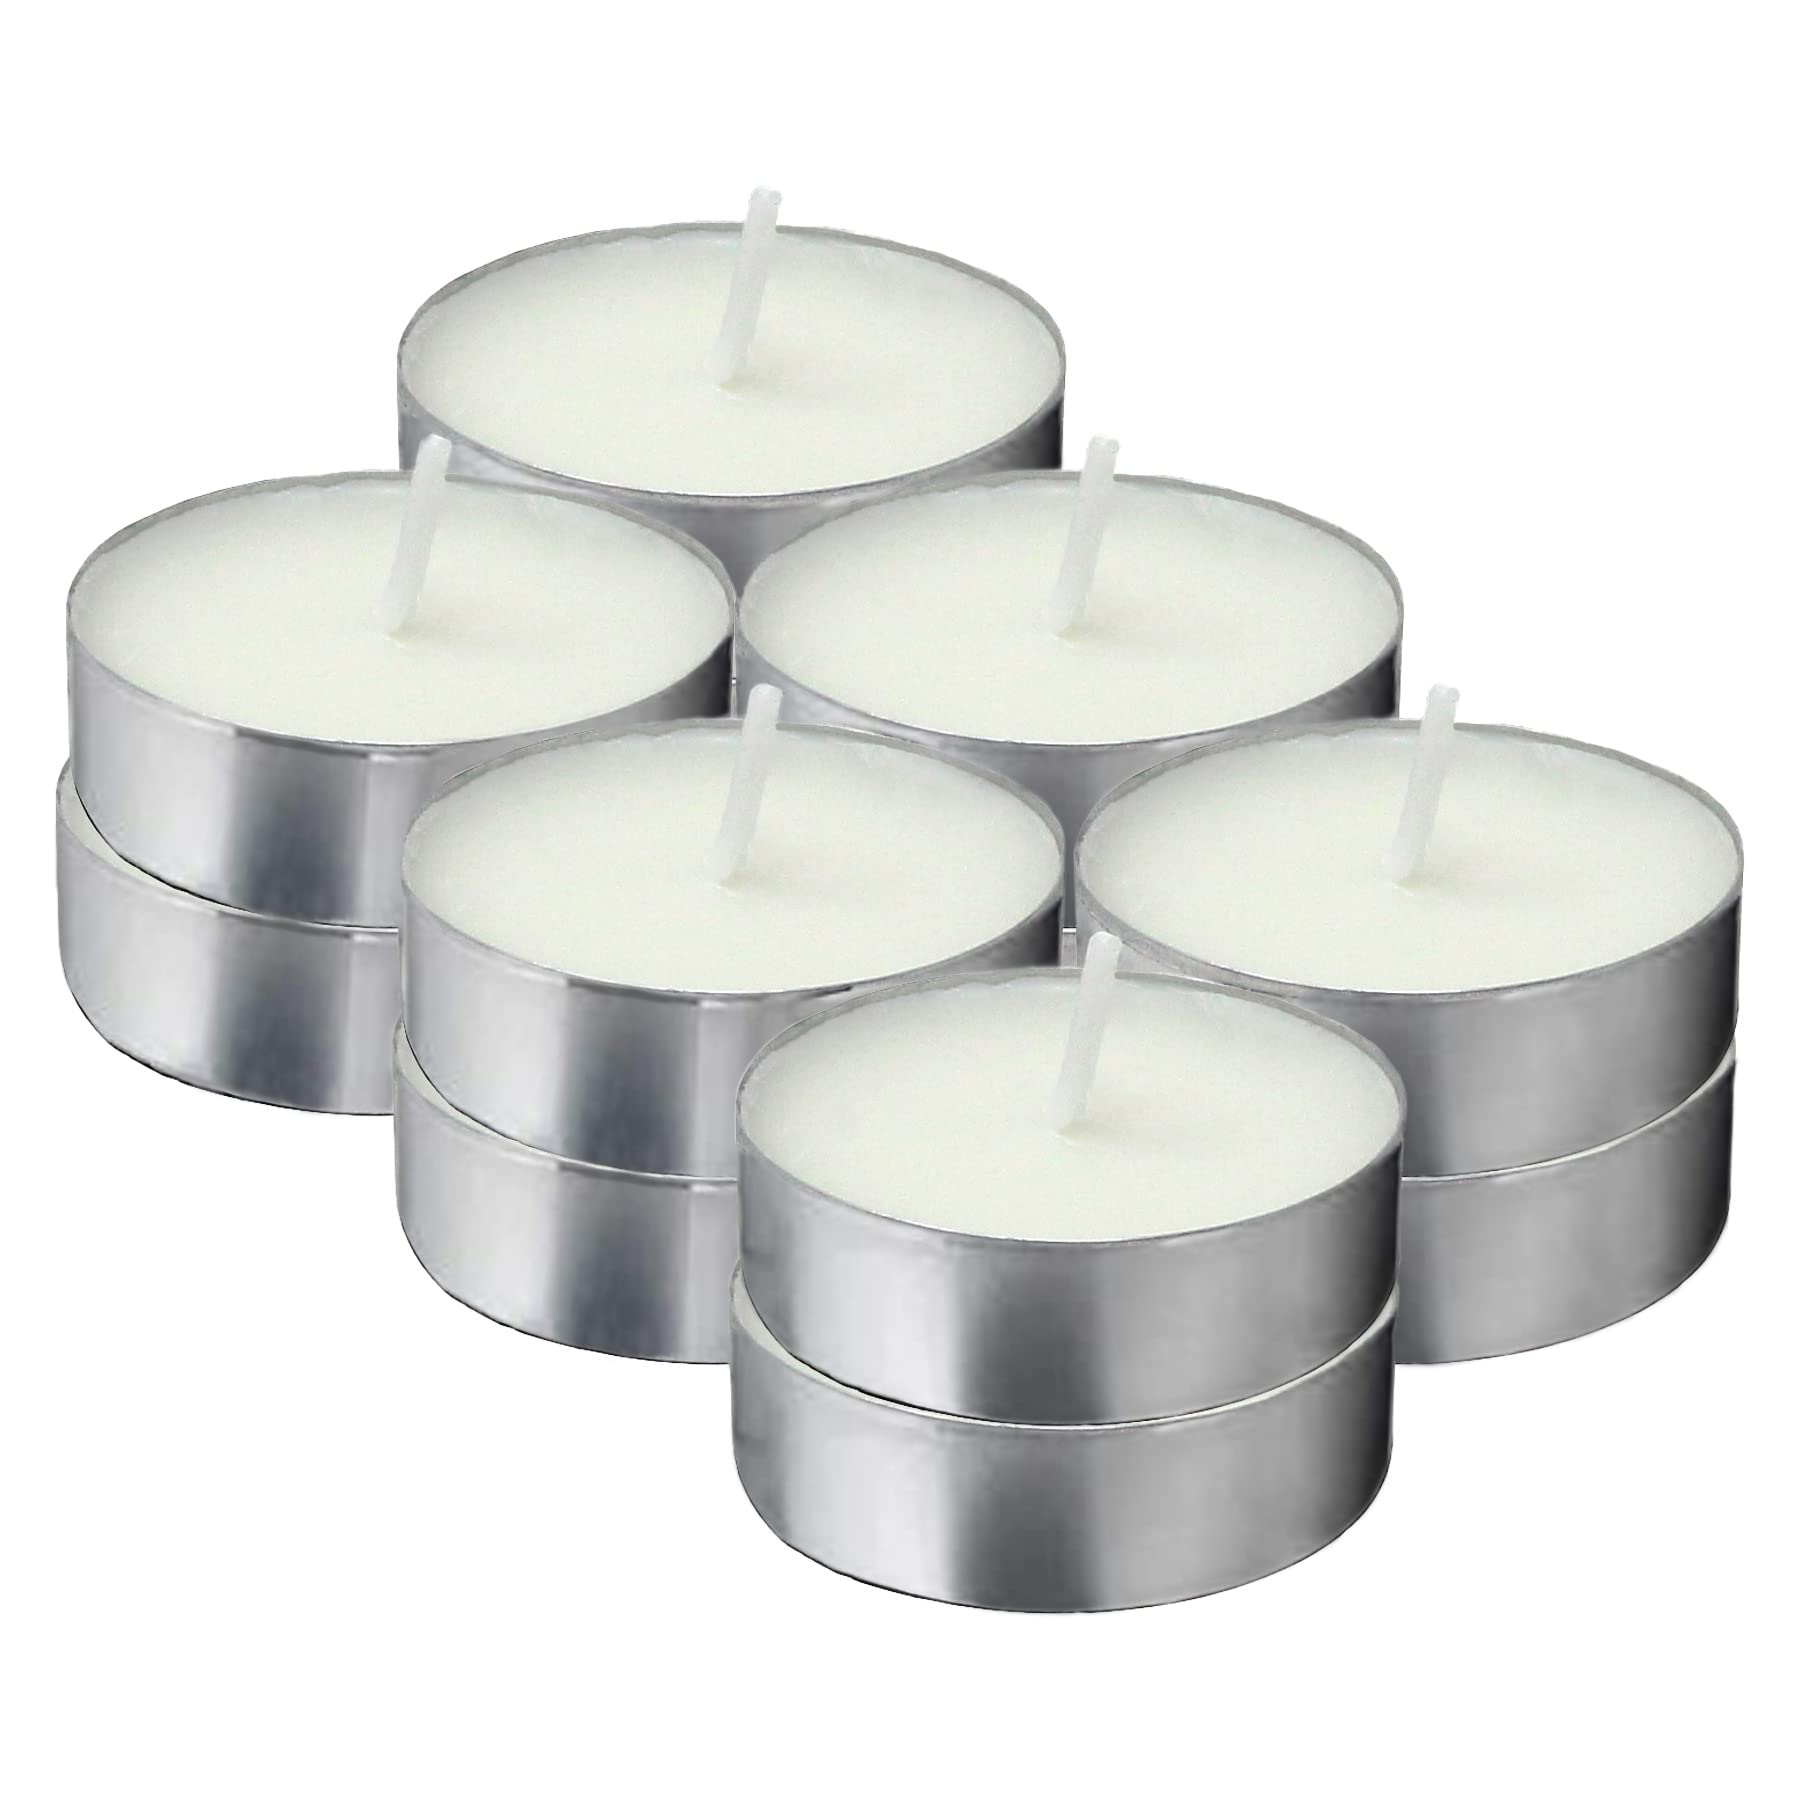
While the wax was melting, I prepped the tea light cups. The pre-tabbed wicks I got had little sticky dots on the bottom, so I just peeled those off and stuck the wicks to the center of each cup. Super easy.
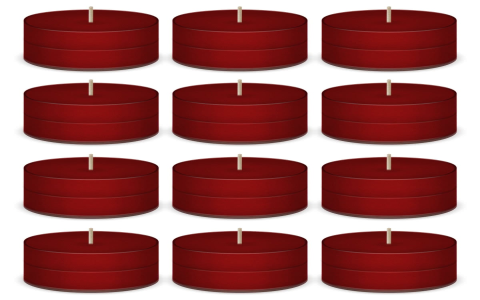
Once the wax was completely melted and at the right temperature, I carefully poured it into the tea light cups. I filled them almost to the top, leaving just a tiny bit of space.
Now for the hardest part: waiting! I left the tea lights to cool and harden completely. This took several * looked like white and hard in the cups.
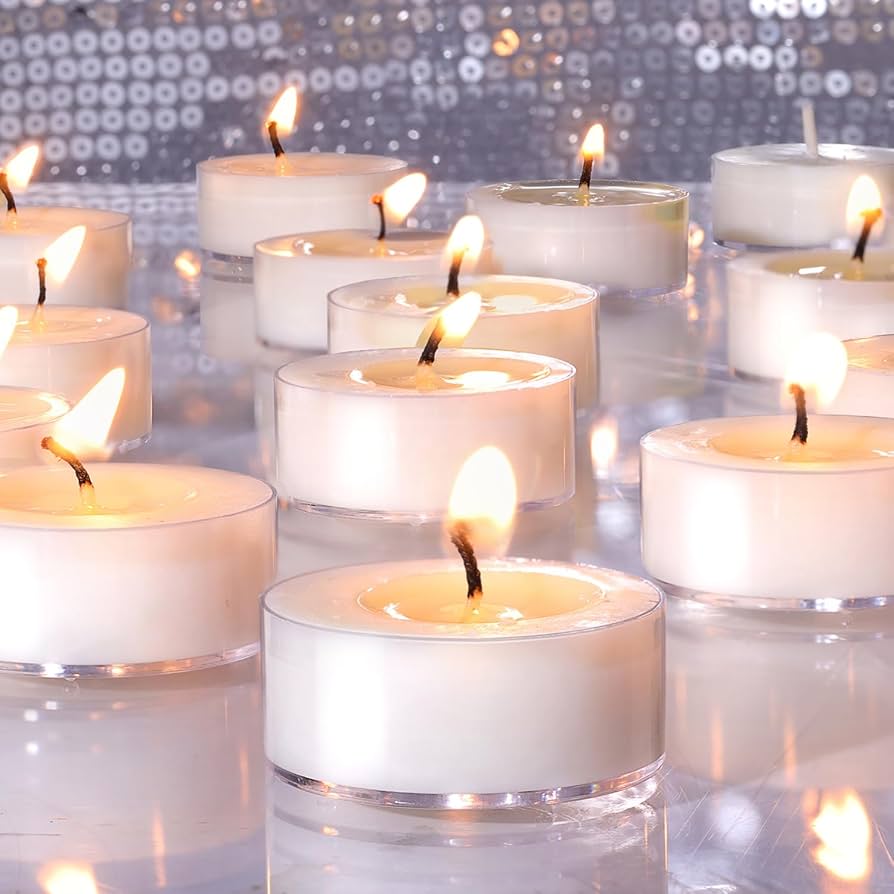
Finally, after what felt like forever, the candles were solid. I tried burning * the little tea lights worked great! They burned evenly and gave off a nice, clean flame. Success! I’m pretty stoked with how they turned out, and I’m already planning my next batch.
© Copyright 2025 Qianwei Tea | Theme developed by sitemap