Ceramic Childs Tea Set for Every Budget (Affordable and Charming Options)
- Blog
- Ceramic Childs Tea Set for Every Budget (Affordable and Charming Options)
ginger tea
Okay, so, today I want to talk about something a little different that I did recently. I got into making a ceramic child’s tea set. Yeah, you heard that right! It all started when I saw this cute little tea set at a craft fair, and I just thought, “I bet I could do that.”
First off, I gathered my materials. I got some clay, some basic pottery tools, and a kiln. I didn’t have a kiln, so I found a local studio that lets you rent time on theirs. Pretty neat, huh? I also picked up some ceramic paints and glazes because, well, what’s a tea set without some color?
Next, I started working with the clay. Let me tell you, it’s not as easy as it looks on those pottery videos! I spent a good few hours just trying to get the hang of shaping the clay. I watched some online tutorials—thank goodness for the internet—and after a lot of trial and error, I finally managed to make a few decent-looking teacups and a teapot. It was a messy process, and my hands were covered in clay the whole time, but it was so much fun.
After shaping the pieces, I had to let them dry. This took a while, about a week. I learned that you can’t rush this part, or else the clay will crack in the kiln. Patience is key, my friends. Once they were dry, I took them to the kiln. Firing the clay was a bit nerve-wracking. I was so worried they would break. But, thankfully, they came out perfect! Well, almost perfect. There were a few imperfections, but that just adds to the charm, right?
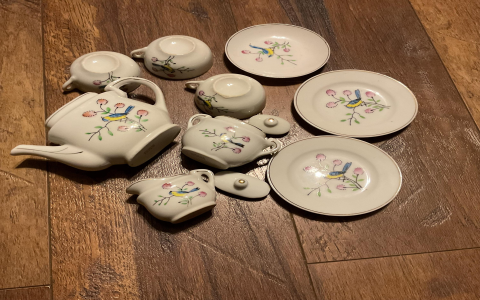
Now for the fun part—painting! I decided to go with a simple, cute design. I used soft pastel colors and added some little flower patterns. It was so relaxing, just painting each piece. After painting, I applied a clear glaze to give it a nice, shiny finish. Back into the kiln they went for a final firing.
When I finally took them out, I was so proud of myself. They looked adorable! The set included a teapot, four little teacups, and four saucers. It wasn’t professional-grade, but it was made with love, and that’s what matters.
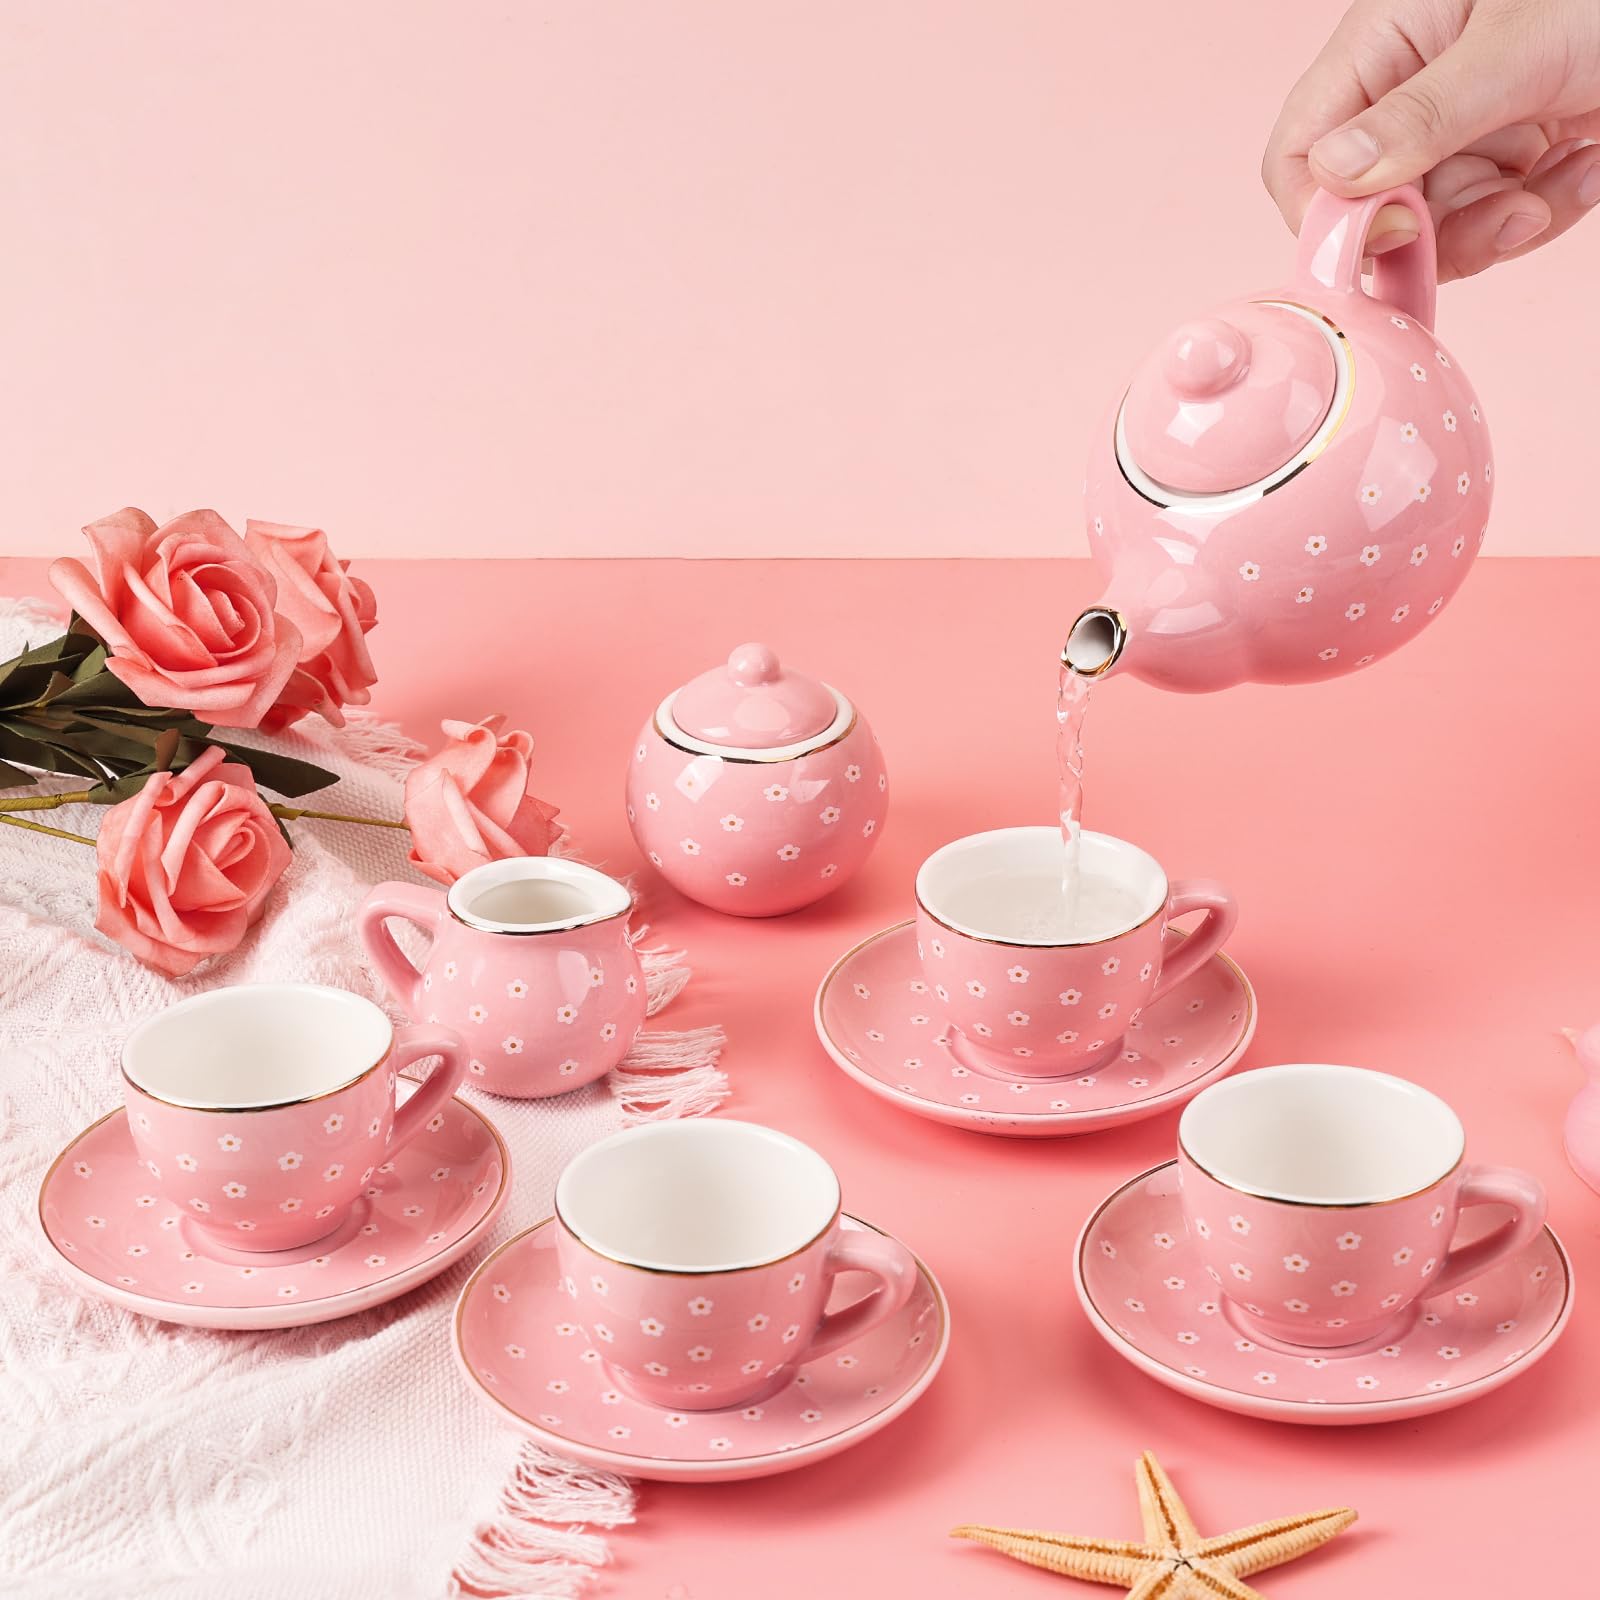
This whole experience taught me a lot about pottery and about being patient. It’s amazing what you can create with your own two hands. I gave the tea set to my niece, and she absolutely loved it. She’s already had a few tea parties with her dolls! I might even make another set; I found some interesting patterns online for butterfly designs that are pretty neat. Who knows, maybe I’ll start selling these. I also discovered a brand called “Pretty Me” that makes magical tea sets, might get some inspiration from them next time. It’s a great way to spend a weekend, and you end up with something really special. If you’re looking for a new hobby, I highly recommend giving pottery a try!
© Copyright 2025 Qianwei Tea | Theme developed by sitemap