oolong thee
- Blog
- oolong thee

tea set
Alright, so I got this idea to try making oolong tea from scratch. Sounds fun, right? I mean, who doesn’t like a good cup of oolong? So, I started this little project, and let me tell you, it was quite the ride.
First off, I got my hands on some fresh tea leaves. Thankfully, I have a friend who grows tea, so that was sorted pretty easily. If you’re doing this at home, you might need to source these from a local market or a specialty store. Anyway, I got the leaves, and the first step was to let them wither.
I spread the leaves out on a large, flat basket. The idea is to let them sit out in the sun for a bit. This process helps to reduce the moisture content. I made sure they were in a single layer, not piled up. Then, I just left them there under the sun. It took a few hours, and I checked on them now and then to make sure they weren’t drying out too much.
Next up, the bruising. This part was kind of tricky. I took the wilted leaves and gently tossed them. You can also lightly press and roll them, but be careful not to crush them completely. The goal is to bruise the edges, which helps in oxidation. I did this for a while until the leaves started to look a bit reddish around the edges.
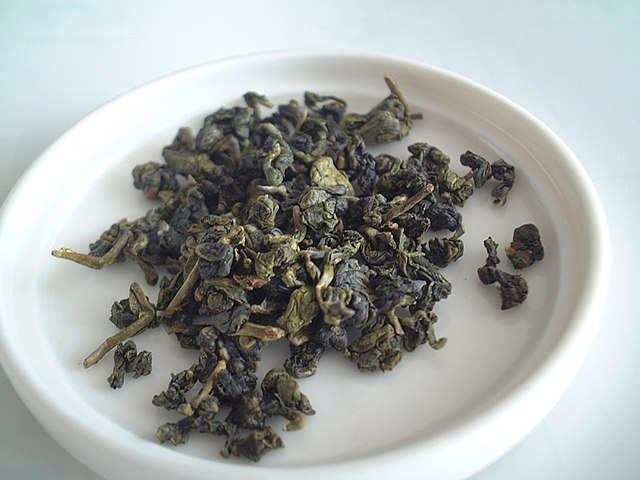
After bruising, it was time to let the leaves oxidize. I placed the leaves back on the basket and left them in a cool, shaded area. This is where the magic happens. The leaves start to change color, and the flavor develops. I kept an eye on them, and after a few hours, they had turned a nice, brownish color.
Once the oxidation was done, I needed to “fix” the flavor. This means stopping the oxidation process. I heated up a large wok – yeah, a wok, it works great for this – and tossed the leaves in. I stirred them around for a few minutes on medium heat. This process, called “sha qing” or “kill green,” stops the enzymes that cause oxidation. The leaves started to smell amazing at this point.
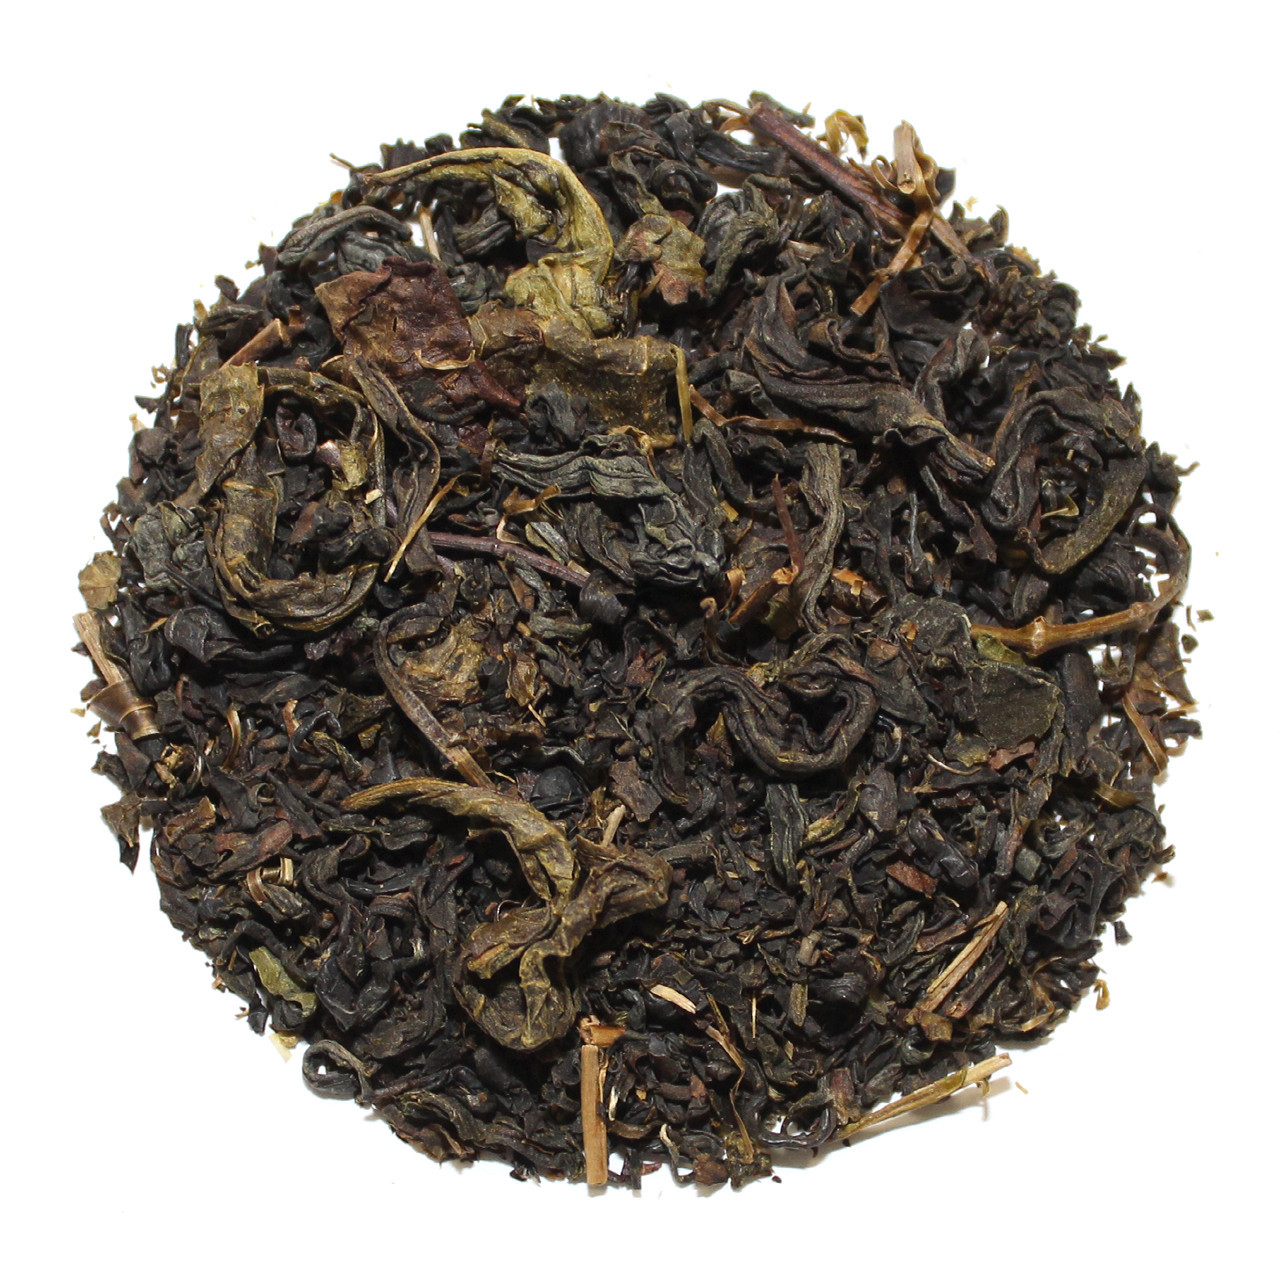
Now, the leaves needed to be rolled. I took the hot leaves out of the wok and gently rolled them in my hands. This shapes the leaves and also helps to release more flavor. After rolling, I spread them out again for the final drying. I used an oven for this part, setting it to a low temperature. I left the leaves in there for about 20-30 minutes, checking frequently to make sure they didn’t burn.
Finally, the moment of truth! I brewed a cup of the tea I had just made. The color was a beautiful golden-brown, and the aroma was incredible. I took a sip, and wow, it was actually pretty good! It had that distinct oolong flavor – floral, a bit sweet, and very smooth. I was surprised. I managed to make oolong tea from scratch.
So, that’s my oolong tea-making adventure. It was a lot of work, but totally worth it. If you’re into tea and have some time on your hands, give it a try. It’s a great way to appreciate the art of tea making. And who knows, you might even impress yourself with the results!
Here’s a quick recap of the steps:
Hope you enjoyed this little journey. Happy brewing!
© Copyright 2025 Qianwei Tea | Theme developed by sitemap