tea tree oil soap benefits
- Blog
- tea tree oil soap benefits
white tea
Okay, so I’ve been on this whole natural skincare kick lately, and I decided to try making my own soap. I’d heard a lot about the tea tree oil soap benefits, so I figured, why not give it a shot? Let me tell you, it was quite the adventure!
First, I gathered all my supplies. This involved a trip to the local craft store and some online ordering. I felt like a mad scientist, collecting all these different oils and lye. I made a quick list to be sure I remembered it all, I’m so forgetful.
Next, I suited up in my gloves and goggles – I felt like I was about to conduct a serious science experiment. I carefully mixed the lye with the distilled water. It is important to note: always add lye to water, never the other way around. I watched the chemical reaction take place, then left it alone to cool down.
Then, I warmed up the olive oil and coconut oil in a separate pot until they were melted and happy together. Once both the lye mixture and the oils were around the same temperature (I aimed for about 100-110°F), it was time for the magic to happen.
Slowly, and I mean slowly, I poured the lye mixture into the oils, while constantly stirring with my stick blender. It started to thicken up, kinda like making pudding. This part took a while, and my arm definitely got a workout. But, you gotta keep going until it reaches a “trace” – that’s when the mixture leaves a little trail on the surface when you drizzle it.
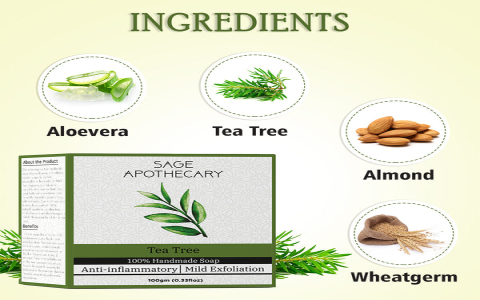
Once I hit that trace, I added in the tea tree oil. I went with about 20 drops for my batch, but you can adjust it depending on how strong you want the scent. Then, I carefully poured the mixture into my soap mold, tapped it on the counter to get rid of any air bubbles, and covered it with a towel.
Now came the hardest part: waiting. I had to let the soap sit in the mold for about 24-48 hours to harden. It felt like forever! I kept peeking at it, but I knew I had to be patient.
Finally, the moment of truth! I unmolded my soap, and it looked… pretty good! It was solid, smelled amazing, and had that lovely, natural tea tree scent. I sliced it into bars and let them cure for a few weeks. Curing helps the soap harden further and makes it last longer.
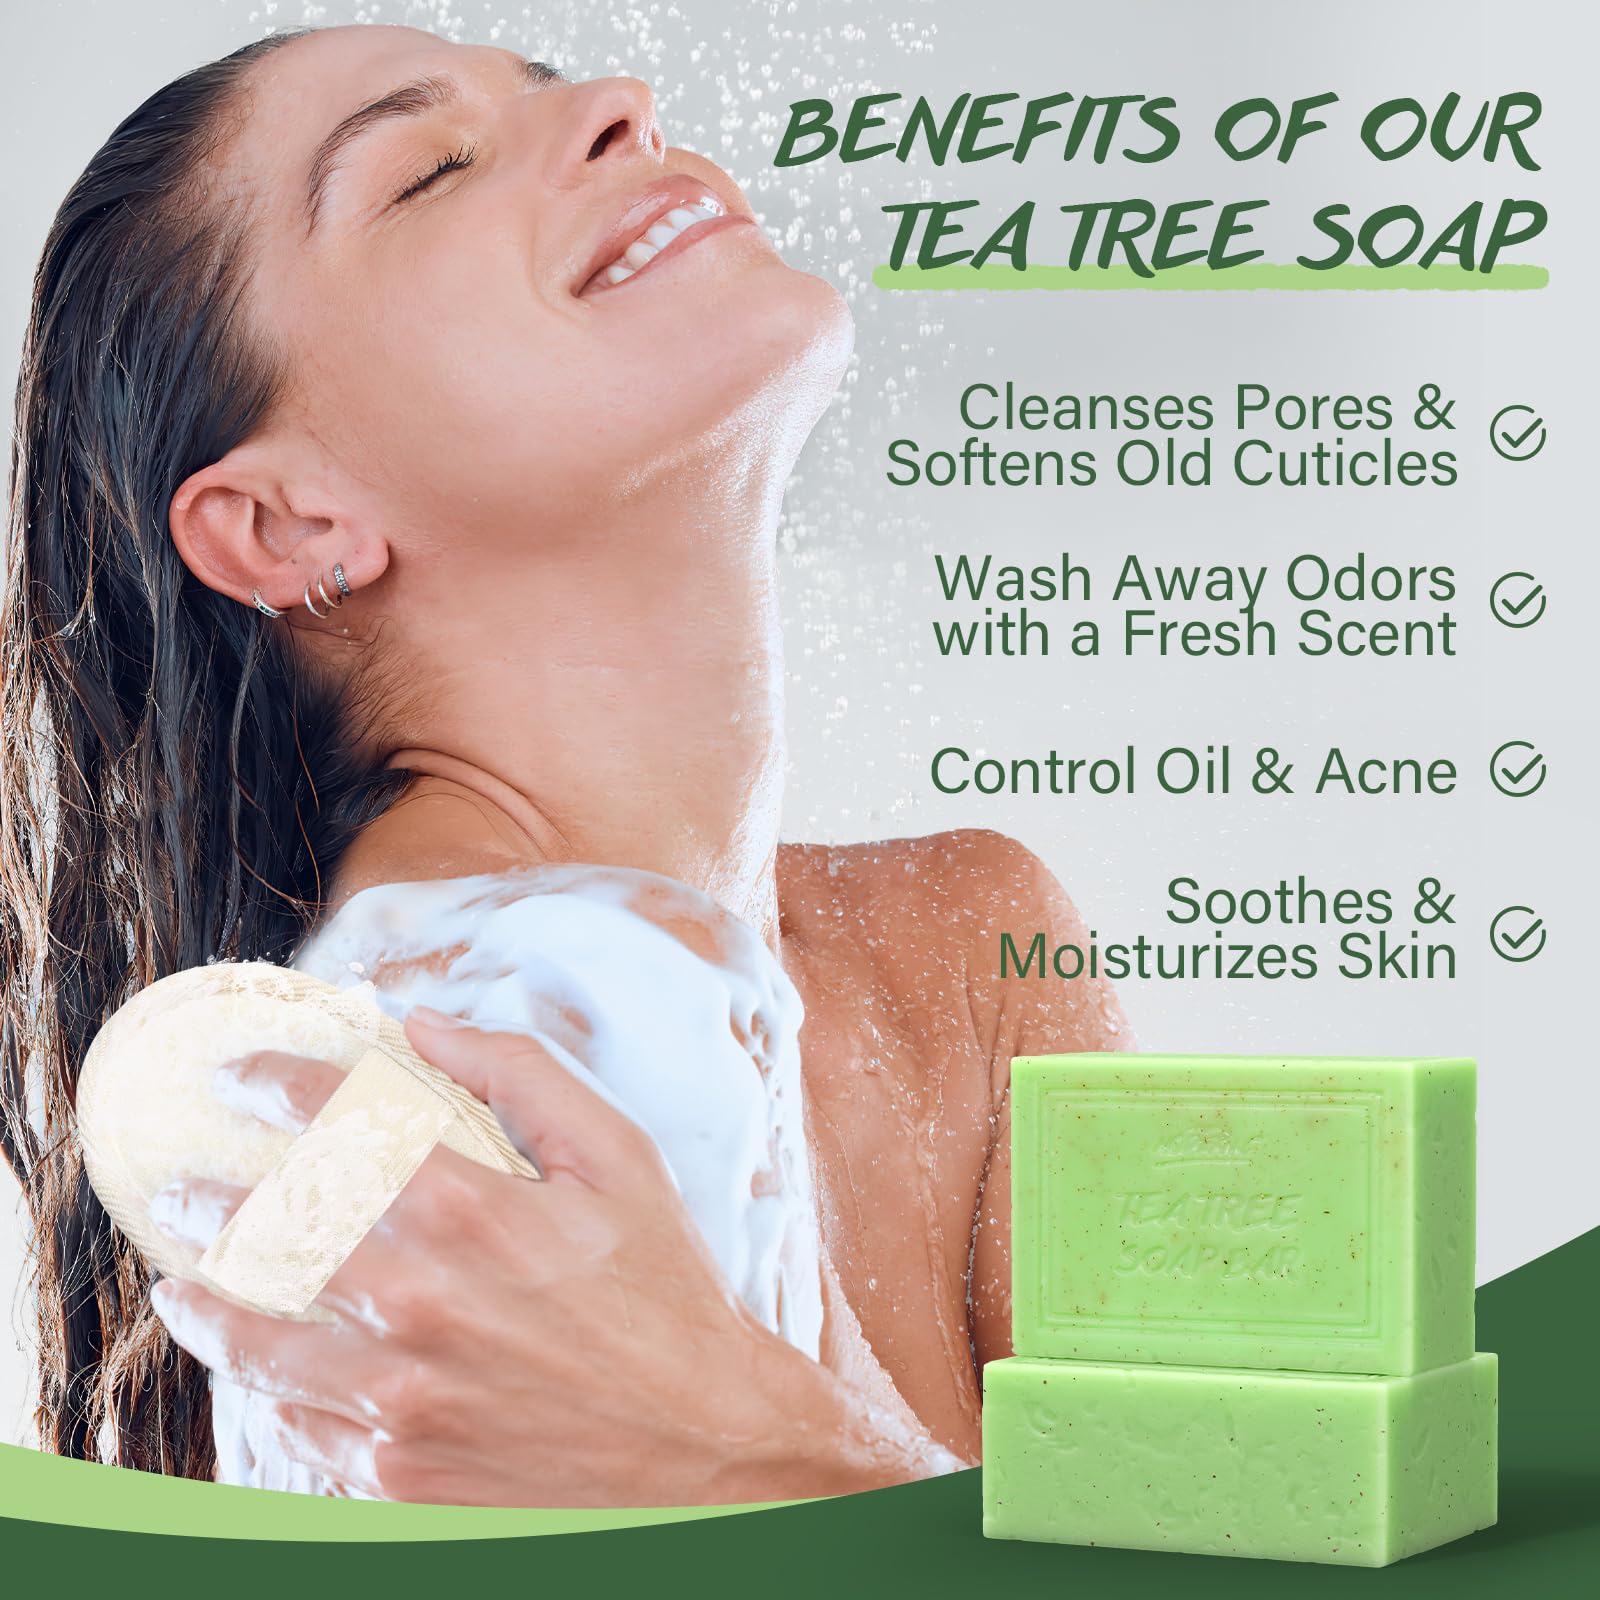
After weeks, I finally used my homemade tea tree oil soap. The lather was great, and it left my skin feeling clean and refreshed, not dry at all. The tea tree oil gave it a nice, tingly sensation, and I felt good knowing I was using something natural on my skin.
Overall, making my own tea tree oil soap was a really fun and rewarding experience. It took some effort, but it was totally worth it. I am planning to make more and try different oil, maybe a flower scent next time.
© Copyright 2025 Qianwei Tea | Theme developed by sitemap