Bee Tea Set for Kids & Adults (Fun Tea Party Sets)
- Blog
- Bee Tea Set for Kids & Adults (Fun Tea Party Sets)
black tea
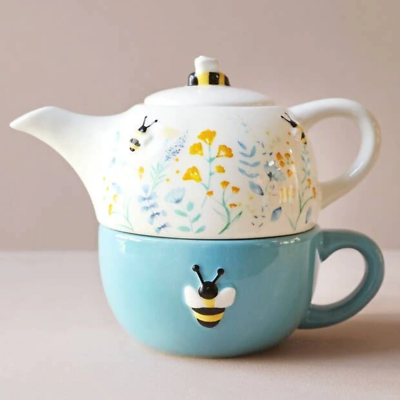
Okay, so I’ve been wanting to make this bee-themed tea set for, like, forever. I finally decided to just go for it. It all started with this image I had in my head of cute little bees buzzing around a teapot.
First things first, I needed clay. I’m not a pro potter or anything, so I just went to the local craft store and grabbed a bag of air-dry clay. I figured it would be easier to work with than the kind you have to bake in a kiln. I also picked up some basic sculpting tools – nothing fancy, just a few wooden sticks and some wire loop tools.
I started with the teapot. I rolled out a big ball of clay and slowly started shaping it. It was a bit tricky, to be honest. I used my fingers and some water to smooth out the surface. My first few tries…well they looked wonky. But, I kept at it, pinching and smoothing, finally getting it into a shape I kinda liked.
Then I made the spout and the handle separately. These were small. I rolled out long, thin pieces of clay and shaped them, using my fingers. I used the pointy end of one of my wooden tools to make the hole in the spout.
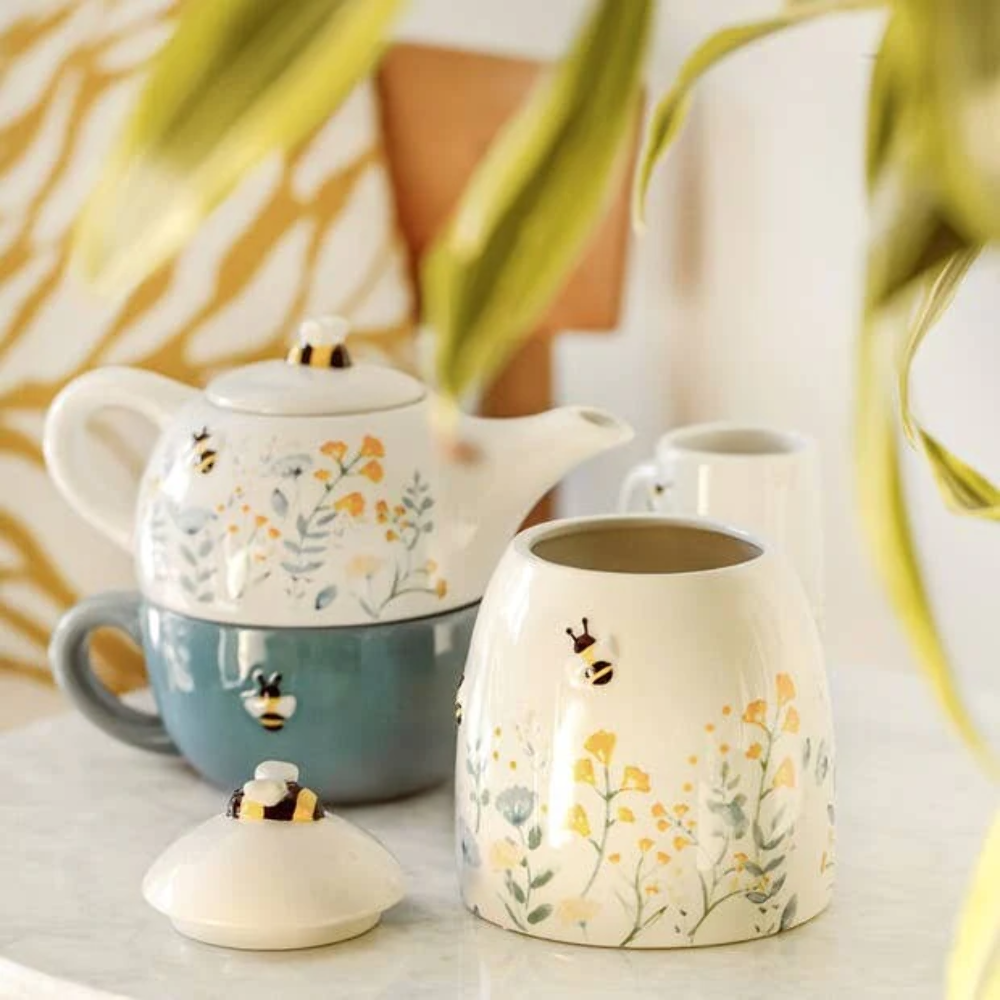
The cups were next. I made four of them. They were smaller, simpler versions of the teapot – basically just little round bowls. I pinched the clay to create the cup shape and used my fingers to smooth out the edges.
Now for the fun part – the bees! I rolled out tiny balls of clay for the bodies and even tinier ones for the heads. I used a toothpick to make little stripes on the bee bodies. I got yellow and black acrylic paint to make them bee-colored! It was a little tedious, but totally worth it.
To attach everything (spout, handle, bees), I used this thing called “slip.” Basically, it’s just watered-down clay that acts like glue. I scratched the surfaces where I wanted to attach the pieces and then used the slip to stick them together. It’s important to make sure everything is securely attached, or it’ll fall apart later.
After letting everything dry completely (which took a couple of days, I just put them to the side and wait), it was time to paint! I used acrylic paints – yellow and black for the bees, and a creamy white for the teapot and cups. I also added some little black dots for the bee eyes.
Finally, I sealed everything with a clear sealant spray. This helps protect the paint and makes the tea set more durable. Although I wouldn’t recommend putting it in the dishwasher!
And that’s it! My homemade bee tea set. It’s not perfect, but I’m pretty proud of it. It was a fun project, and it’s definitely a conversation starter when I have friends over for tea (or, you know, pretend tea!).
© Copyright 2025 Qianwei Tea | Theme developed by sitemap