Chinese Pottery Tea Set: Where to Buy and How to Choose
- Blog
- Chinese Pottery Tea Set: Where to Buy and How to Choose

green tea
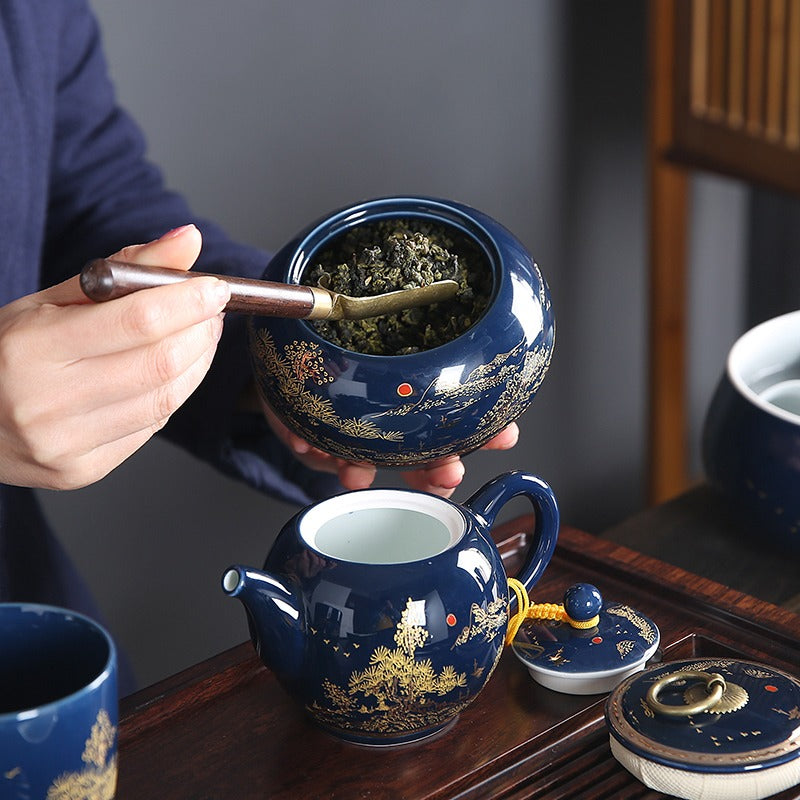
Okay, so I’ve been wanting to get into pottery lately, specifically making my own tea set. I’ve always loved those delicate Chinese tea sets, so I thought, “Why not try making one myself?” It turned out to be quite the adventure!
First things first, I needed clay. I went down to the local art supply store and, man, was I overwhelmed! There were so many different types. After chatting with a helpful employee (who clearly knew her stuff), I picked up some porcelain clay. She said it would be good for a tea set because it gets really strong and white after firing.
Next up, I watched a bunch of YouTube videos on how to work with clay. I learned about “wedging” (basically kneading the clay to get the air bubbles out) and how to center the clay on the pottery wheel. Let me tell you, centering is WAY harder than it looks! My first few attempts? Total disasters. Clay flying everywhere, my hands covered, the wheel looking like a mud monster. It was pretty hilarious, honestly.
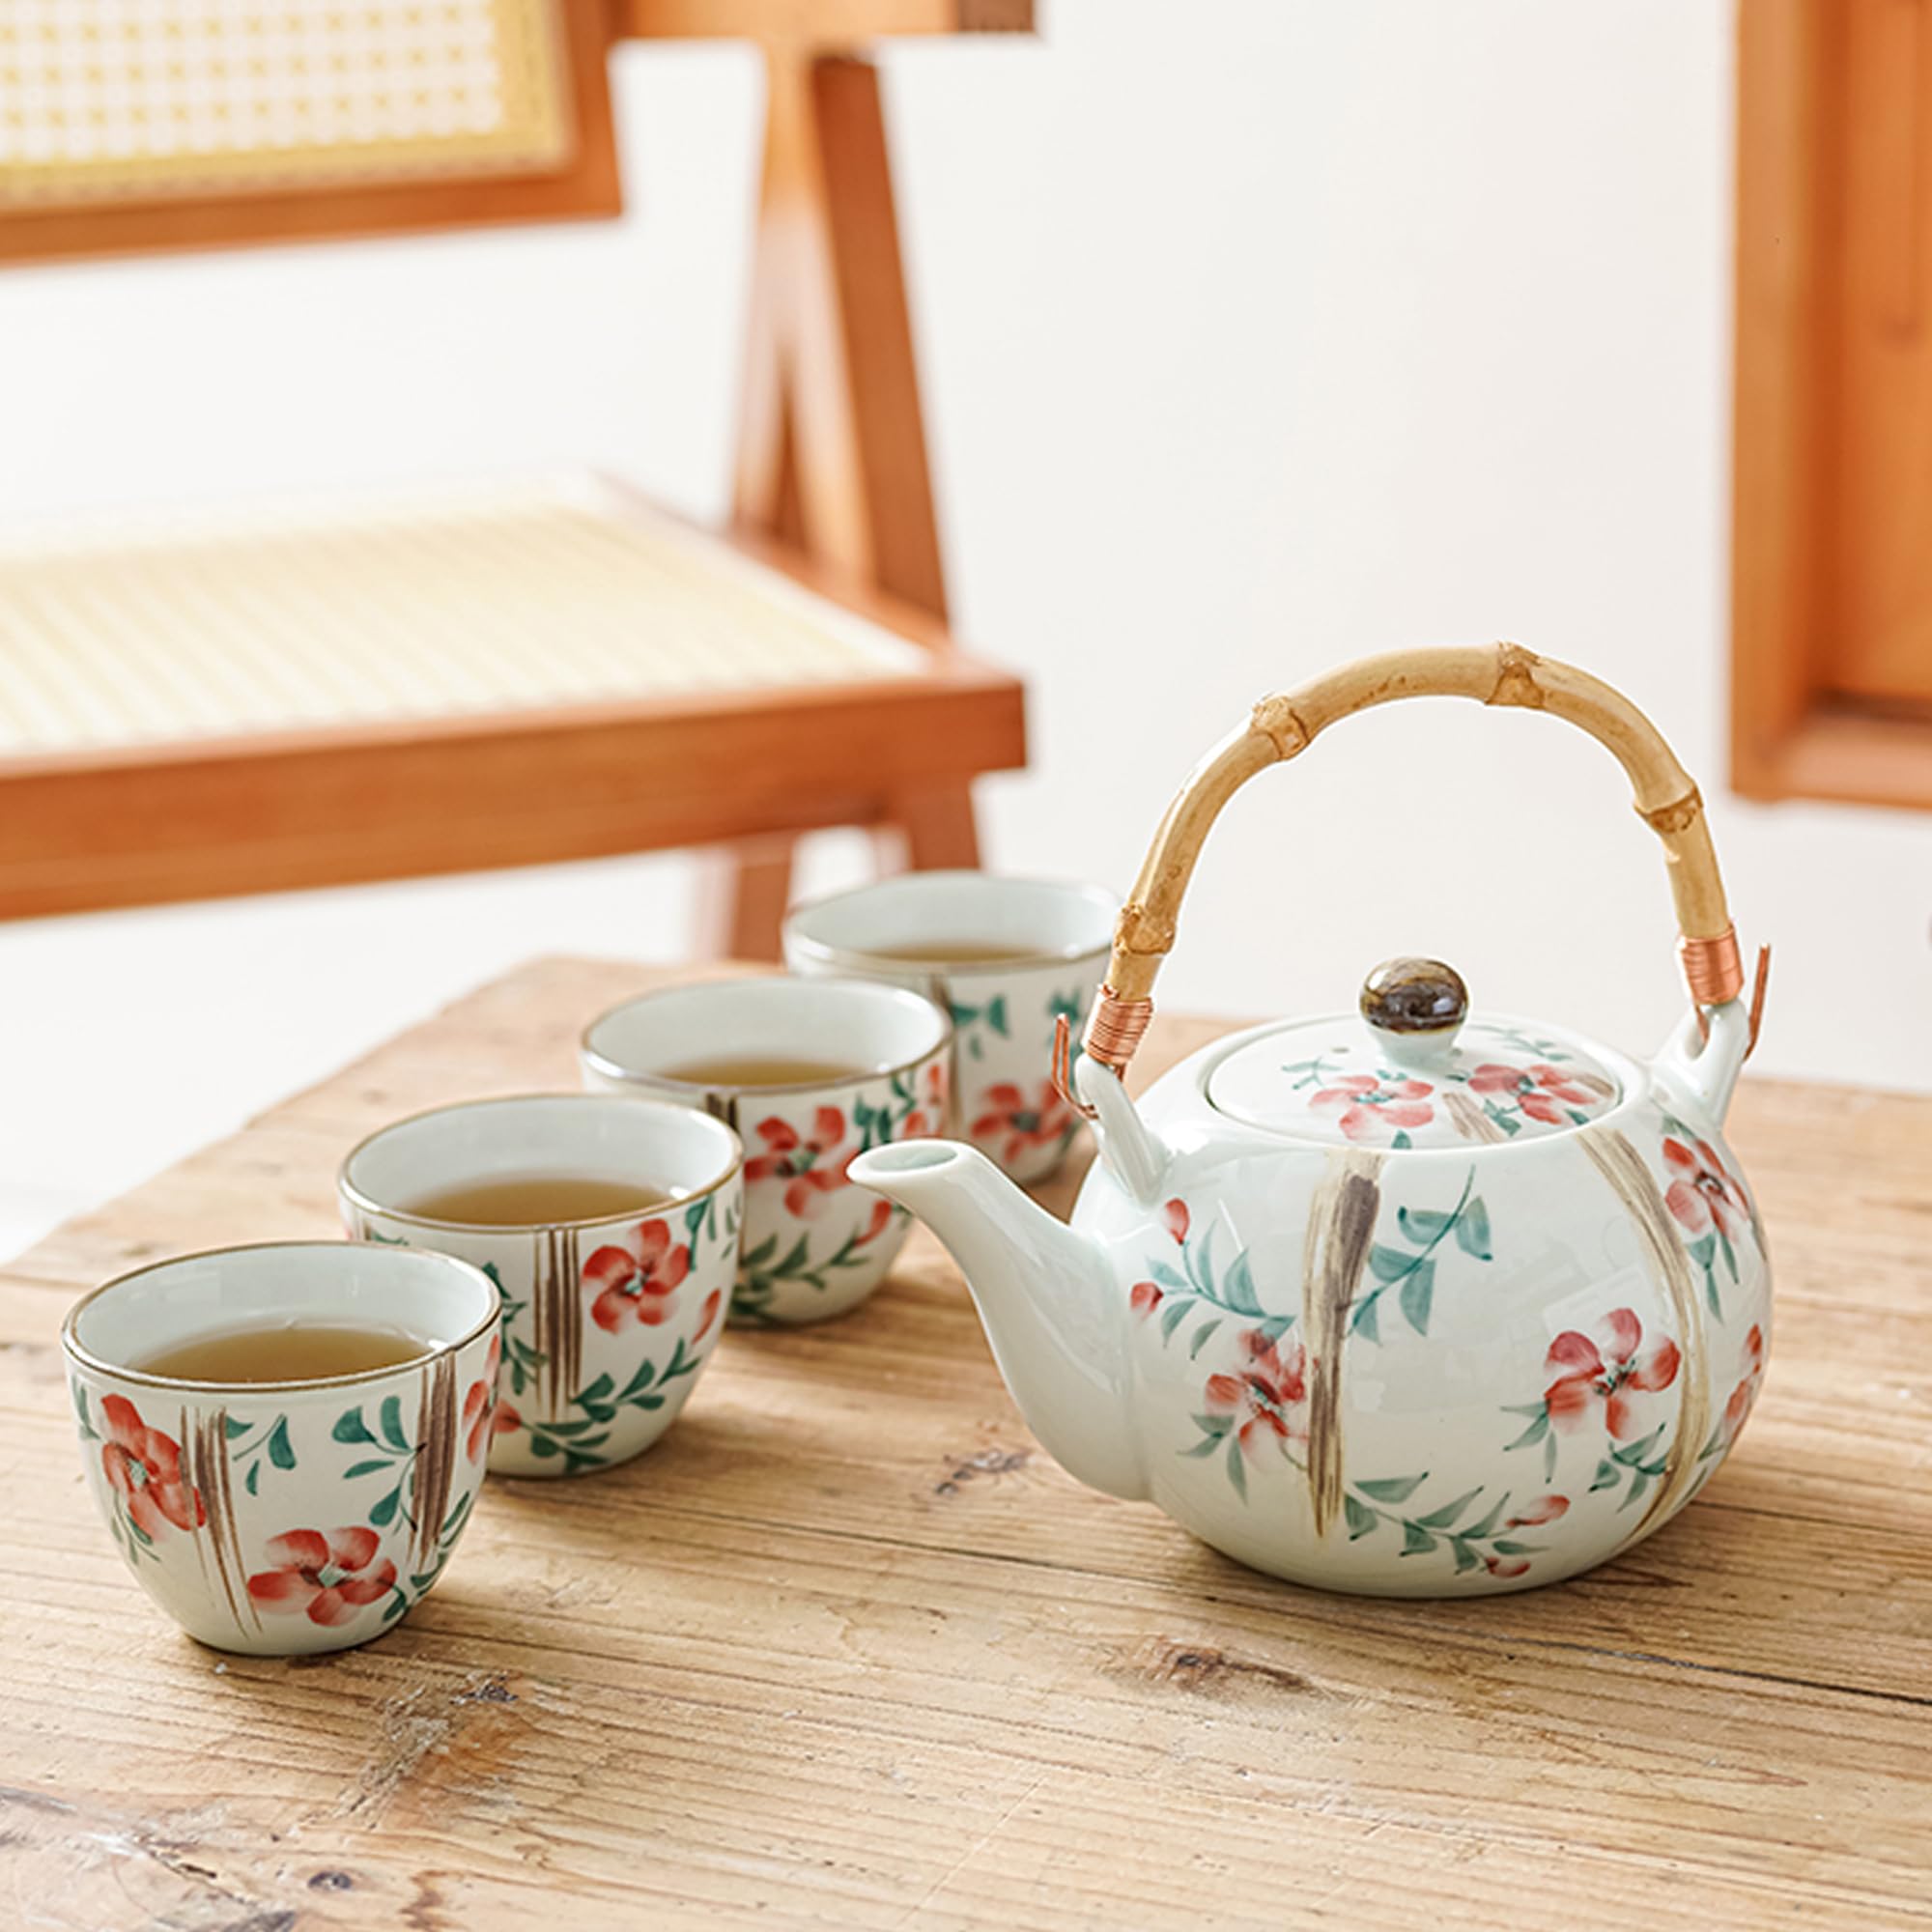
After a lot of practice (and a lot of cleaning), I finally started to get the hang of it. I managed to center the clay and slowly started shaping the pieces. I decided to make:
The teapot was definitely the trickiest. Getting the spout right and making sure the lid fit properly took some serious patience. The cups were a bit easier, but making them all the same size was a challenge. The tray was the simplest, just a flat, round piece with a slightly raised edge.
Once I was happy with the shapes, I had to let everything dry completely. This took about a week. I learned that you have to let them dry slowly, or they can crack. Then came the scary part: the first firing, called the “bisque firing.” I took my pieces to a local pottery studio that lets you rent kiln space. They handled the firing for me, which was a relief because I had no idea how to operate a kiln!
After the bisque firing, the pieces were hard but still porous. Time for glazing! I chose a classic, clear glaze to let the white of the porcelain show through. I dipped each piece in the glaze and made sure to wipe off the bottoms so they wouldn’t stick to the kiln shelf. Then it was back to the studio for the final glaze firing. This firing is even hotter than the first, and it’s what makes the glaze all shiny and waterproof.
Waiting for the kiln to cool down was torture! But finally, I got to open it up and see my finished tea set. It was…amazing! It wasn’t perfect, of course. There were a few little imperfections, but that just made it feel more…mine. I was so proud of myself for actually making something so beautiful and functional with my own two hands.
The whole experience was a real learning process. It taught me patience, perseverance, and the importance of embracing the mess. Now, I can enjoy a nice cup of tea from a tea set that I made myself, now that is pretty good!
© Copyright 2025 Qianwei Tea | Theme developed by sitemap