Cute Witch Tea Set Options: Adorable & Affordable Choices
- Blog
- Cute Witch Tea Set Options: Adorable & Affordable Choices
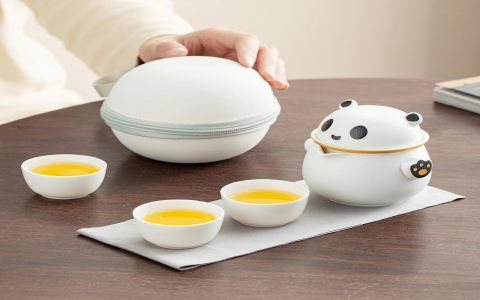
tea set
So, I decided to make a witch tea set. It started with a Pinterest-fueled impulse, honestly. I saw this gorgeous image – dark wood, swirling patterns, tiny cauldrons – and I had to try it. I’m not a professional woodworker or anything, but I figured, how hard could it be?
First, I hit the craft store. I grabbed a small block of dark walnut wood – smelled amazing, by the way. Then, some super fine sandpaper, various wood stains (I went with a dark brown and a black, for that witchy vibe), a couple of tiny teacups I found in the dollhouse section (perfect!), and a small metal cauldron I snagged from a Halloween display. Cheap, but it worked.
Next, I sketched out my design. I wanted a small tray, maybe three inches by five, and I roughly planned out where the cups and cauldron would go. Nothing too fancy, just a simple design. I’m not exactly Michelangelo with a wood chisel, you know?
The cutting was the hardest part. I used a small handsaw, which was…tedious. My hands were cramped for hours! But I slowly, carefully, sawed away, making sure not to go too deep or my little teacups wouldn’t fit. I ended up with a rough shape, definitely not perfectly smooth.
Sanding was a marathon, not a sprint. I went through probably five sheets of sandpaper, working my way up from coarse to super fine. My fingers were raw by the time I finished, but the wood was finally smooth enough to stain.
The staining was fun. I applied the dark brown first, letting it soak in for a while before wiping off the excess. Then, I carefully added the black, focusing on the edges and creating a slightly distressed look. It was a bit messy, and I definitely got stain on my fingers (again!), but the final effect was pretty cool.
After the stain dried, I used a clear sealant to protect the wood. Then, I carefully glued the tiny teacups and the cauldron onto the tray. I used super glue, because I was impatient, but wood glue would probably have been a better choice. The super glue dried super fast, though, which was nice.
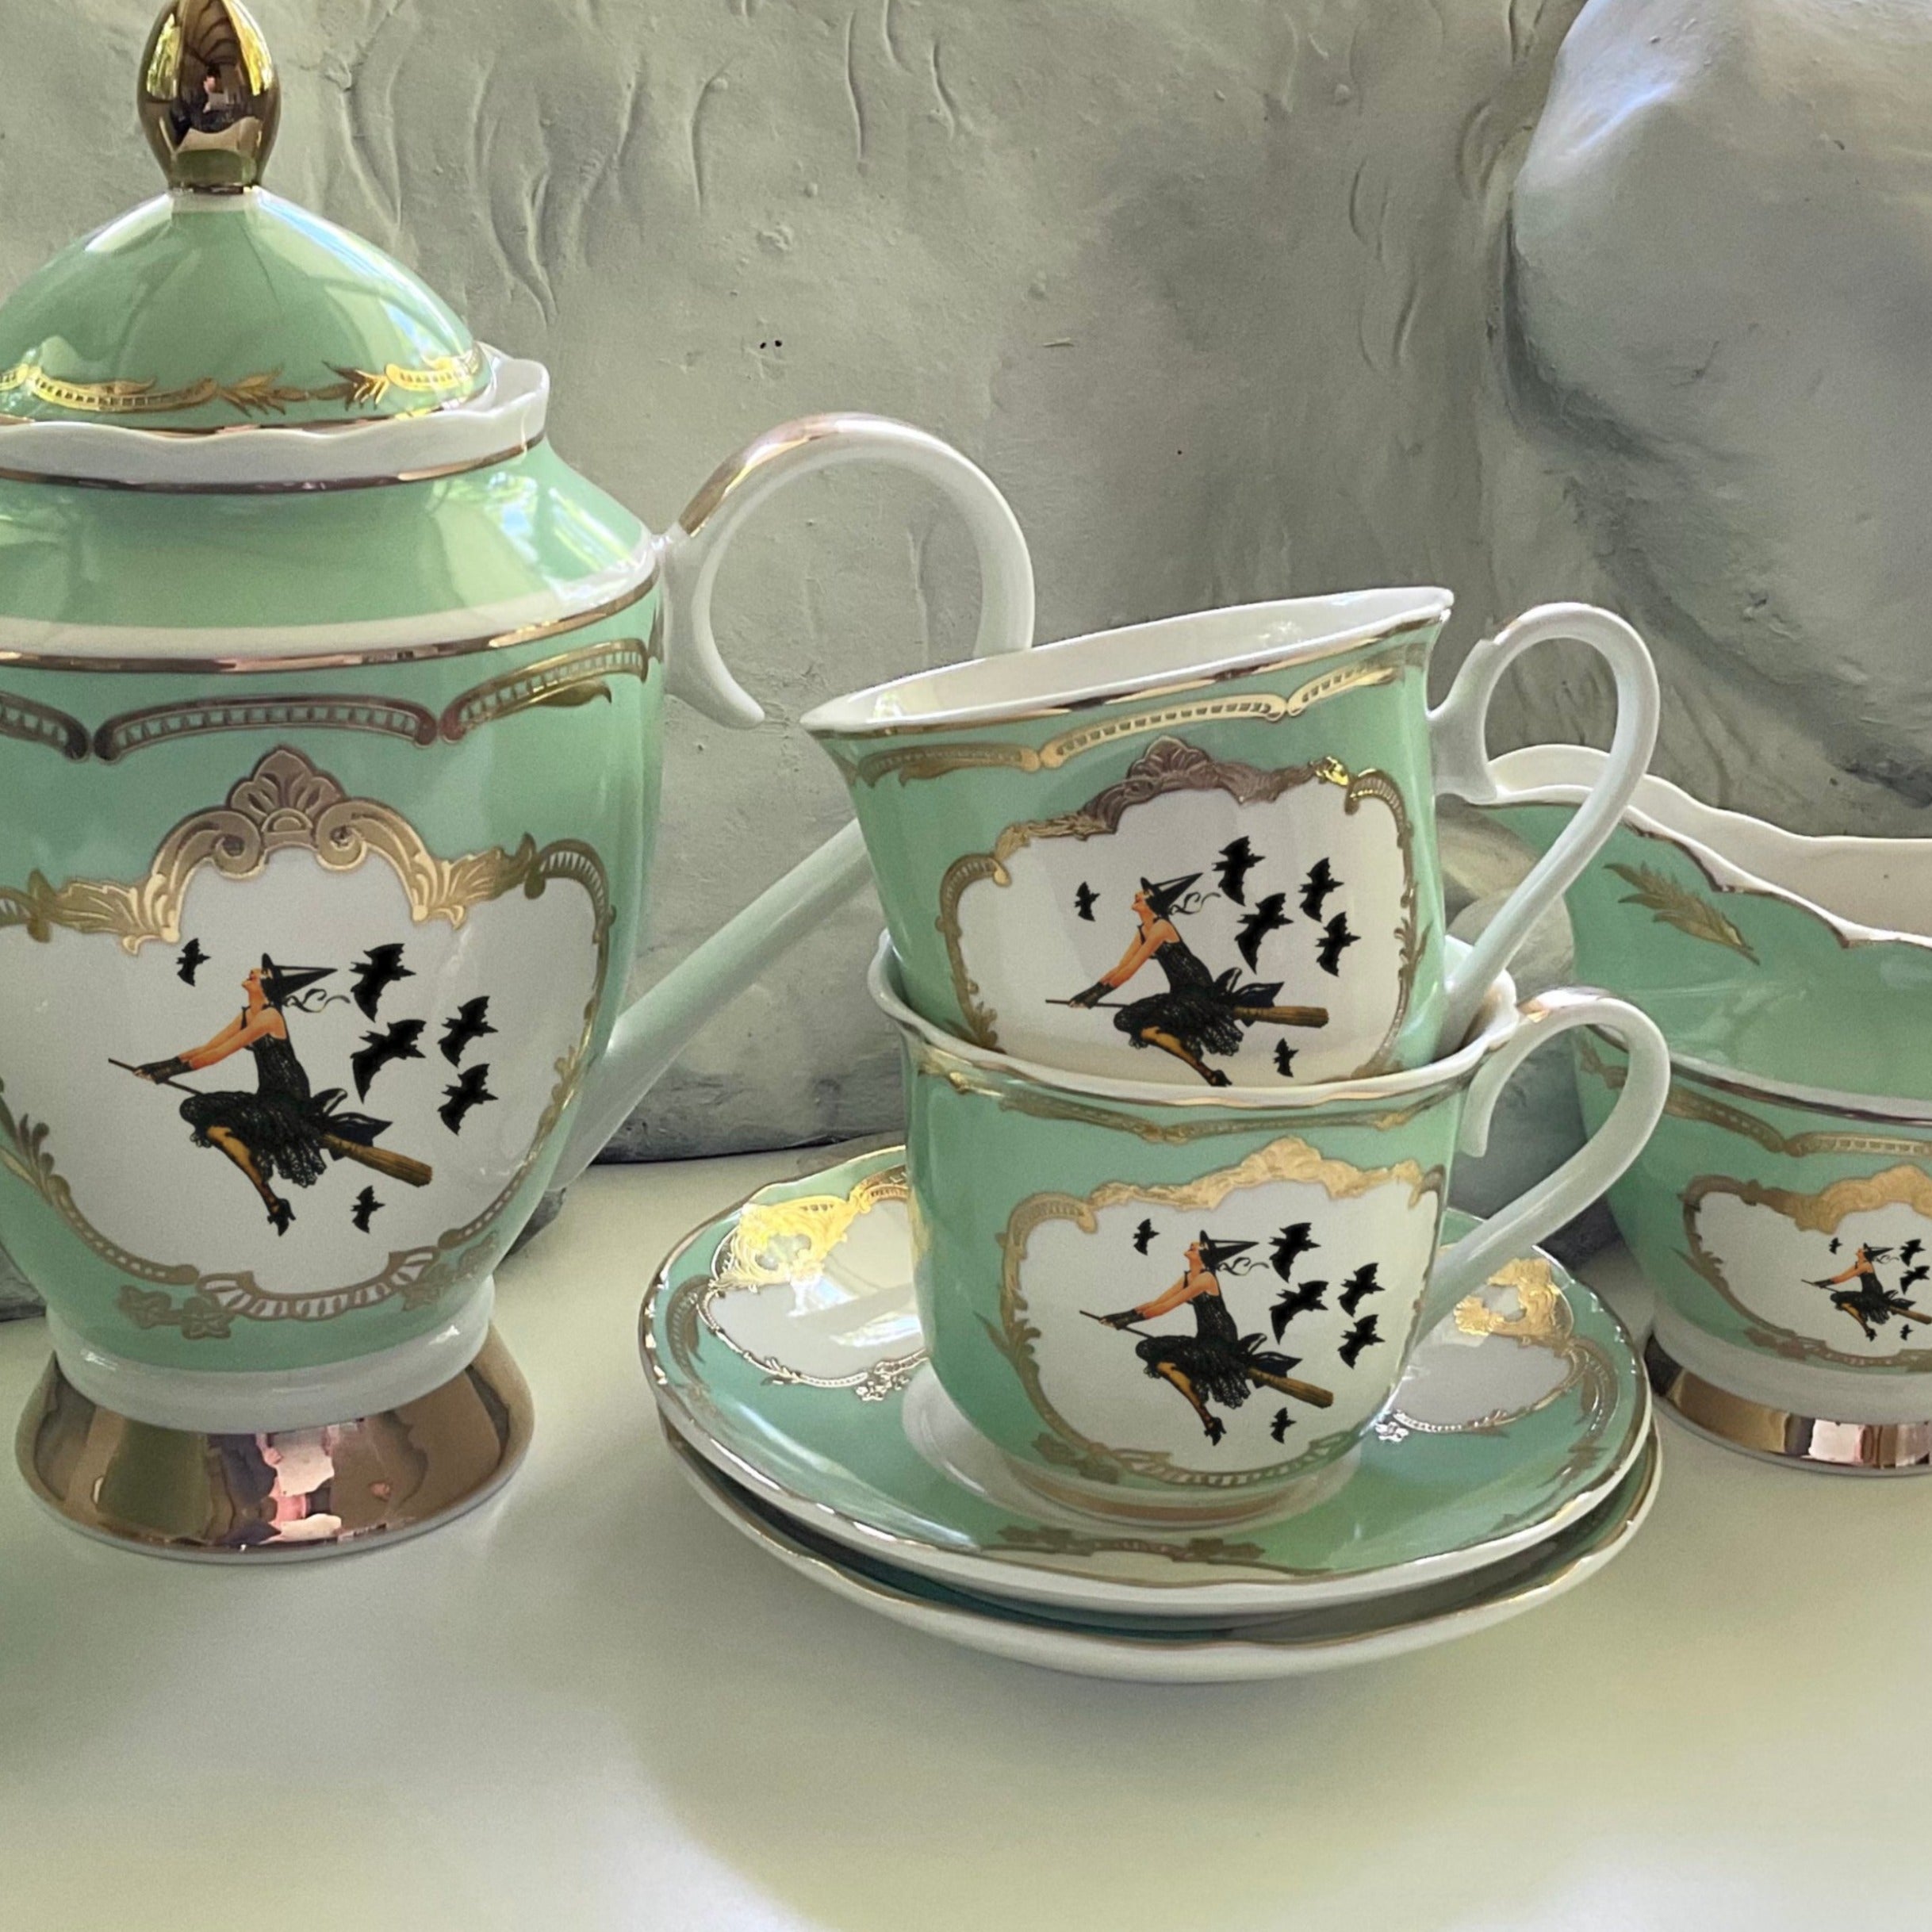
And finally, there it was. My witchy tea set. It wasn’t perfect. It’s a little rough around the edges, the cups aren’t perfectly aligned, and the whole thing is probably way too small for actual tea. But it’s mine, and I love it. It sits on my desk now, a quirky reminder of my slightly messy, entirely enjoyable woodworking adventure. It was a total success, even if my hands were killing me afterwards.
It was a lot of work, but definitely worth it. I learned a lot – mostly that I need to invest in better tools! – and now I have a unique little witchy tea set that I can be proud of. Maybe next time I’ll try making a whole tea party set…
© Copyright 2025 Qianwei Tea | Theme developed by sitemap