Fairy Tea Set Magic: Find the Perfect One for Kids!
- Blog
- Fairy Tea Set Magic: Find the Perfect One for Kids!
tea set
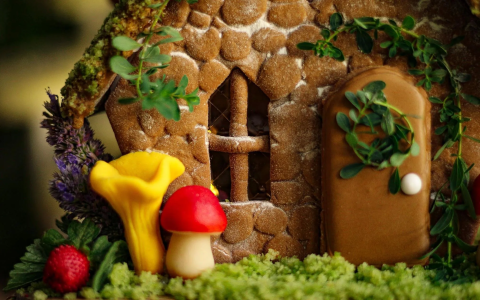
Okay, so I’ve been obsessed with miniatures lately, and I had this idea to make a super cute fairy tea set. I thought it would be a fun little project, and honestly, who doesn’t love tiny things?
First, I needed to figure out what to use for the materials. I didn’t want to spend a ton of money, so I started looking around the house for stuff I could repurpose. I found some old bottle caps – perfect for the plates and saucers! For the teacups, I decided to use acorns I collected from my backyard. They were already the perfect shape, I just needed a way for making tea pot. and it’s also Autumn now.
Next up was the fun (and messy) part – putting it all together. Here’s what I did:
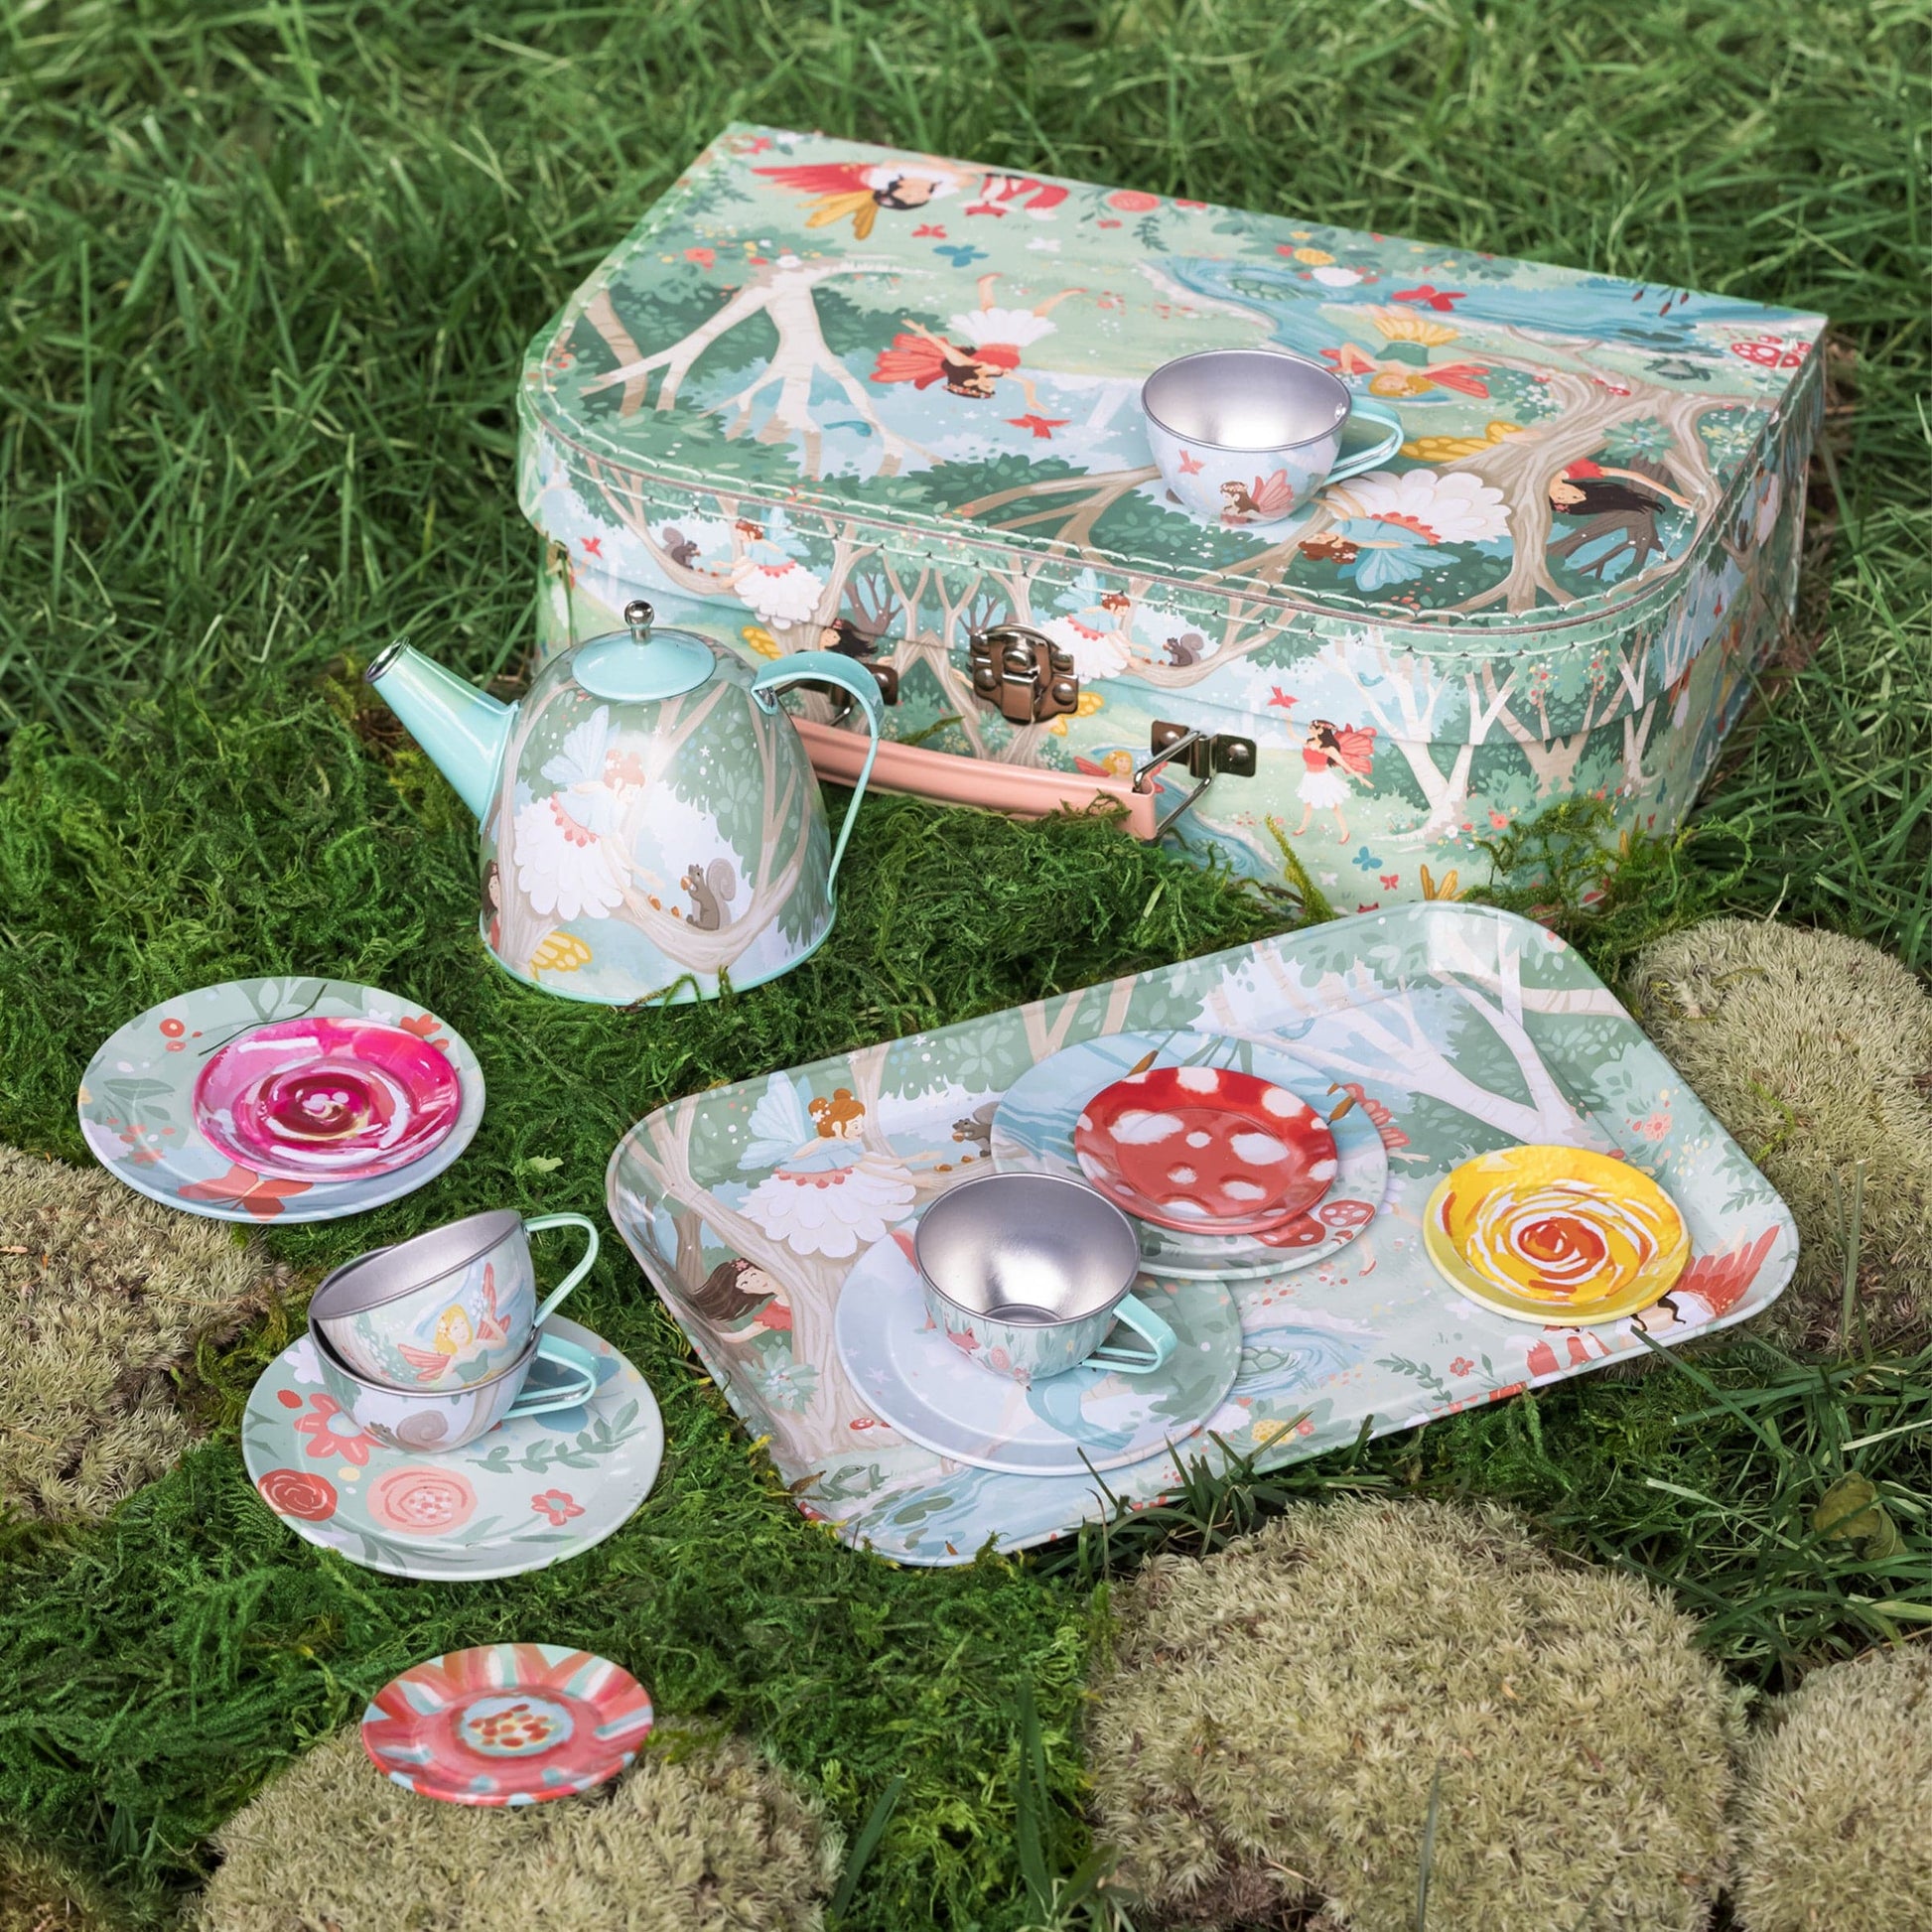
And that’s it! I’m actually pretty happy with how it turned out. It’s not perfect, of course, but it’s super cute and definitely has that handmade charm. It’s sitting on my windowsill now, and it makes me smile every time I see it. It’s the perfect size for my little succulents, and it adds a touch of whimsy to my room. I think the hardest part was definitely working with such small pieces – my fingers felt huge! But it was a fun challenge, and I’m already thinking about what other tiny things I can make.
If you’re looking for a fun and easy craft project, I totally recommend trying this out! It’s a great way to use up some recycled materials and create something adorable. Plus, who knows, maybe some real fairies will come to use it!
© Copyright 2025 Qianwei Tea | Theme developed by sitemap