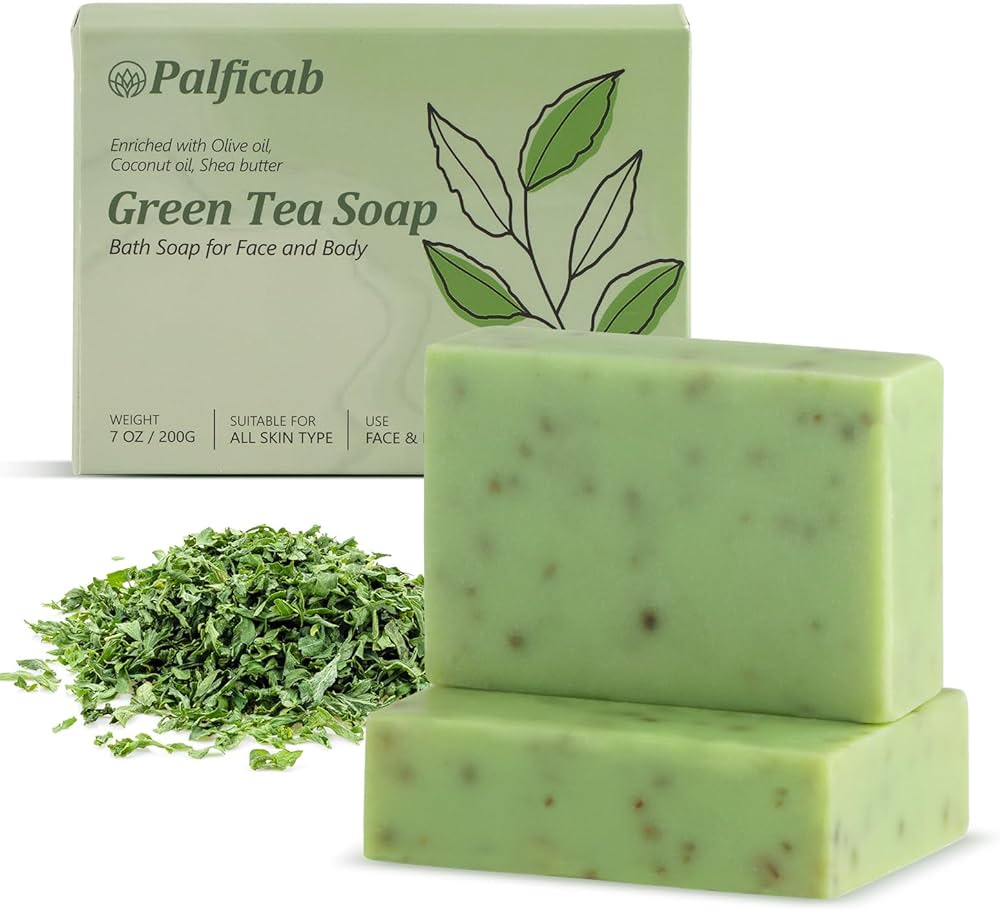
green tea soap
- Blog
- green tea soap
herbal tea
Okay, so I’ve been on this huge DIY kick lately, trying to make more stuff at home. And you know what? Making soap is surprisingly fun! Today, I tried my hand at green tea soap, and it turned out pretty darn good, if I do say so myself. Wanna know how I did it? Here’s the lowdown:
First things first, I needed to get all my ingredients and equipment together. I’m a bit of a klutz, so I like to have everything laid out before I start. Here’s what I grabbed:
I wanted a really good green tea scent and color, so I brewed some super strong tea. I used like, three times the usual amount of tea leaves and let it steep for a good long while. Way longer than if I was gonna drink it! Let it cool after that.
I chopped up the soap base into smaller chunks – makes it melt faster and more evenly. Then, I popped it in the microwave-safe bowl and zapped it in short bursts, like 30 seconds at a time. I stirred it in between each burst until it was all melted and smooth. Don’t overheat it, or it’ll get weird!
Once the soap base was melted, I poured in my strong, cooled green tea.I didn’t use all of the tea for fear of making the soap too soft. I added a few drops of the tea tree essential oil. Just enough to give it a little extra oomph, you know?
Then I gave it all a good stir, making sure everything was mixed in really well.
I carefully poured the mixture into my flower-shaped mold. Then, I gave it a few spritzes with the rubbing alcohol. This helps get rid of any air bubbles on the surface, so your soap looks nice and smooth. It’s like magic!
After spritzing,I sprinkled the top with green tea leaves,It came out well.
Now comes the waiting. I let the soap sit in the mold for several hours, until it was completely hard and cool. It’s tempting to poke at it, but resist the urge! Patience is key, my friends.
Once the soap was fully set, I gently popped it out of the mold. And there it was! My very own, handmade green tea soap. It smelled amazing, and I couldn’t wait to try it out.
And that’s it! It’s easier than you think, and kinda addictive. I’m already thinking about what kind of soap to make next. Maybe lavender? Or oatmeal? The possibilities are endless!
© Copyright 2025 Qianwei Tea | Theme developed by sitemap