Love Belle Tea Sets? Check Out These Affordable Options.
- Blog
- Love Belle Tea Sets? Check Out These Affordable Options.
green tea
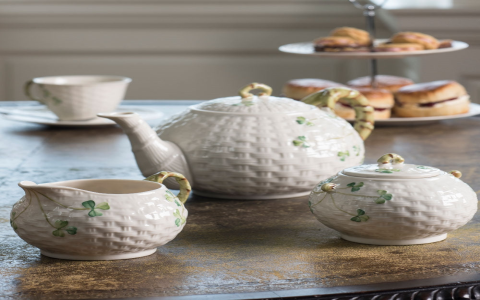
Okay, so I’ve been wanting to make this “Belle” tea set for a while, you know, from Beauty and the Beast. I finally decided to just go for it! It seemed kinda daunting at first, but I broke it down into smaller steps, and it wasn’t as bad as I thought.
First things first, I needed the materials. I went to that craft store downtown – the one with all the random stuff. I needed:
Before I started painting, I washed and dried the teapot and cups really well. Any dust or grease would mess up the paint, and nobody wants that. Then, I used the painter’s tape to mark off the areas I wanted to paint gold. I put tape around the rims of the cups and the teapot, and also around the base of the teapot. I’m not the steadiest hand, so the tape really helped.
Next up, the gold! I shook the gold paint really well (it gets all gloopy if you don’t). Then, using a medium-sized brush, I carefully painted the exposed areas with the gold paint. I did two coats to make sure it was nice and opaque, letting the first coat dry completely before adding the second. Patience is key, people!
Once the gold was totally dry (I waited like, a whole day, just to be sure), I carefully peeled off the tape. It looked pretty good already! Then, I used a pencil to lightly sketch the little rose details on the sides of the teapot and cups. I looked at some pictures online to get the shapes right. They weren’t perfect, but hey, it’s handmade, right?
This was the trickiest part. I dipped a super-thin brush into the pink paint and carefully painted over my pencil sketches. I had to do a couple of coats for this too, because the pink was kinda sheer. I messed up a few times, but I just wiped it off with a damp cloth and tried again. No biggie.
After the roses were dry, I went over the gold parts again with a thin coat of gold paint, just to touch up any spots where the pink might have bled through. I then baked them according the instruction.
And that’s it! My very own “Belle” tea set. It’s not perfect, but I’m pretty proud of it. It was a fun little project, and now I have a cute tea set to show off. Time for a tea party!
© Copyright 2025 Qianwei Tea | Theme developed by sitemap