milk oolong pottery
- Blog
- milk oolong pottery
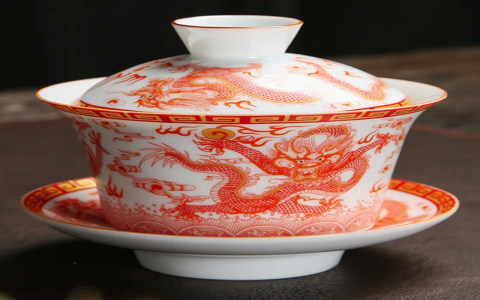
matcha tea
Okay, so today I decided to get my hands dirty and try making some pottery inspired by the creamy, dreamy colors of milk oolong tea. I’ve always loved that subtle, milky-green hue, and I thought, “Why not try to capture that in clay?”
First, I gathered my materials. I already had some basic white stoneware clay, so that was my starting point. I also grabbed some Mason stains – I figured I’d need a touch of green and maybe a hint of yellow to get that oolong vibe. Oh, and of course, my trusty pottery wheel, some water, and my basic shaping tools.
This was the tricky part. I started by wedging the clay – basically kneading it like dough to get rid of any air bubbles. Then, I flattened out a chunk of clay and sprinkled a tiny, tiny bit of the green stain onto it. I added a smidge of yellow, too, just a whisper.
Then, I wedged the clay again, folding it over and over to mix the stain in. It was a bit like making marbled clay. I kept wedging and checking the color, adding more stain a little at a time until I got something that looked close to that lovely milk oolong shade. It took some doing as it is not easy.
Once I was happy with the color (or at least, close enough!), I centered the clay on the wheel and started throwing. I decided to make a simple, rounded bowl shape – nothing too fancy, just something to showcase the color. It felt so good to have the clay spinning between my hands, slowly taking shape. I really do love this part.
The clay felt a little softer than usual, probably because of the added stain. It made it a bit more challenging to work with, but I managed. I had to be extra gentle while pulling up the walls of the bowl, making sure they didn’t collapse. I used a wet sponge to smooth out the surface and refine the shape.
After I was satisfied with the shape, I used a wire tool to cut the bowl from the wheel. Then, I carefully transferred it to a board to dry. It’ll need to dry slowly and evenly to avoid cracking. Once it’s bone dry, I’ll fire it in the kiln, and then, finally, glaze it with a clear glaze to make it food-safe and bring out the color.
It’s still drying, so I don’t have a finished product to show off yet. But I’m already excited about how it’s looking! The color is pretty close to what I was aiming for – a soft, milky green with a hint of warmth. I can’t wait to see how it turns out after it’s been fired and glazed. Hopefully, it will truly looks great!

I’ll be sure to share some pictures of the finished bowl when it’s done. Fingers crossed it survives the kiln!
© Copyright 2025 Qianwei Tea | Theme developed by sitemap