Vintage hummel tea set? Collectors Guide & Price Check.
- Blog
- Vintage hummel tea set? Collectors Guide & Price Check.
tea ceremony
Okay, so I’ve been wanting to make this “hummel tea set” thing for a while now. I saw some pictures online and thought, “Hey, I can probably do that!” I’m not a pro or anything, just someone who likes to mess around with crafts and DIY stuff.
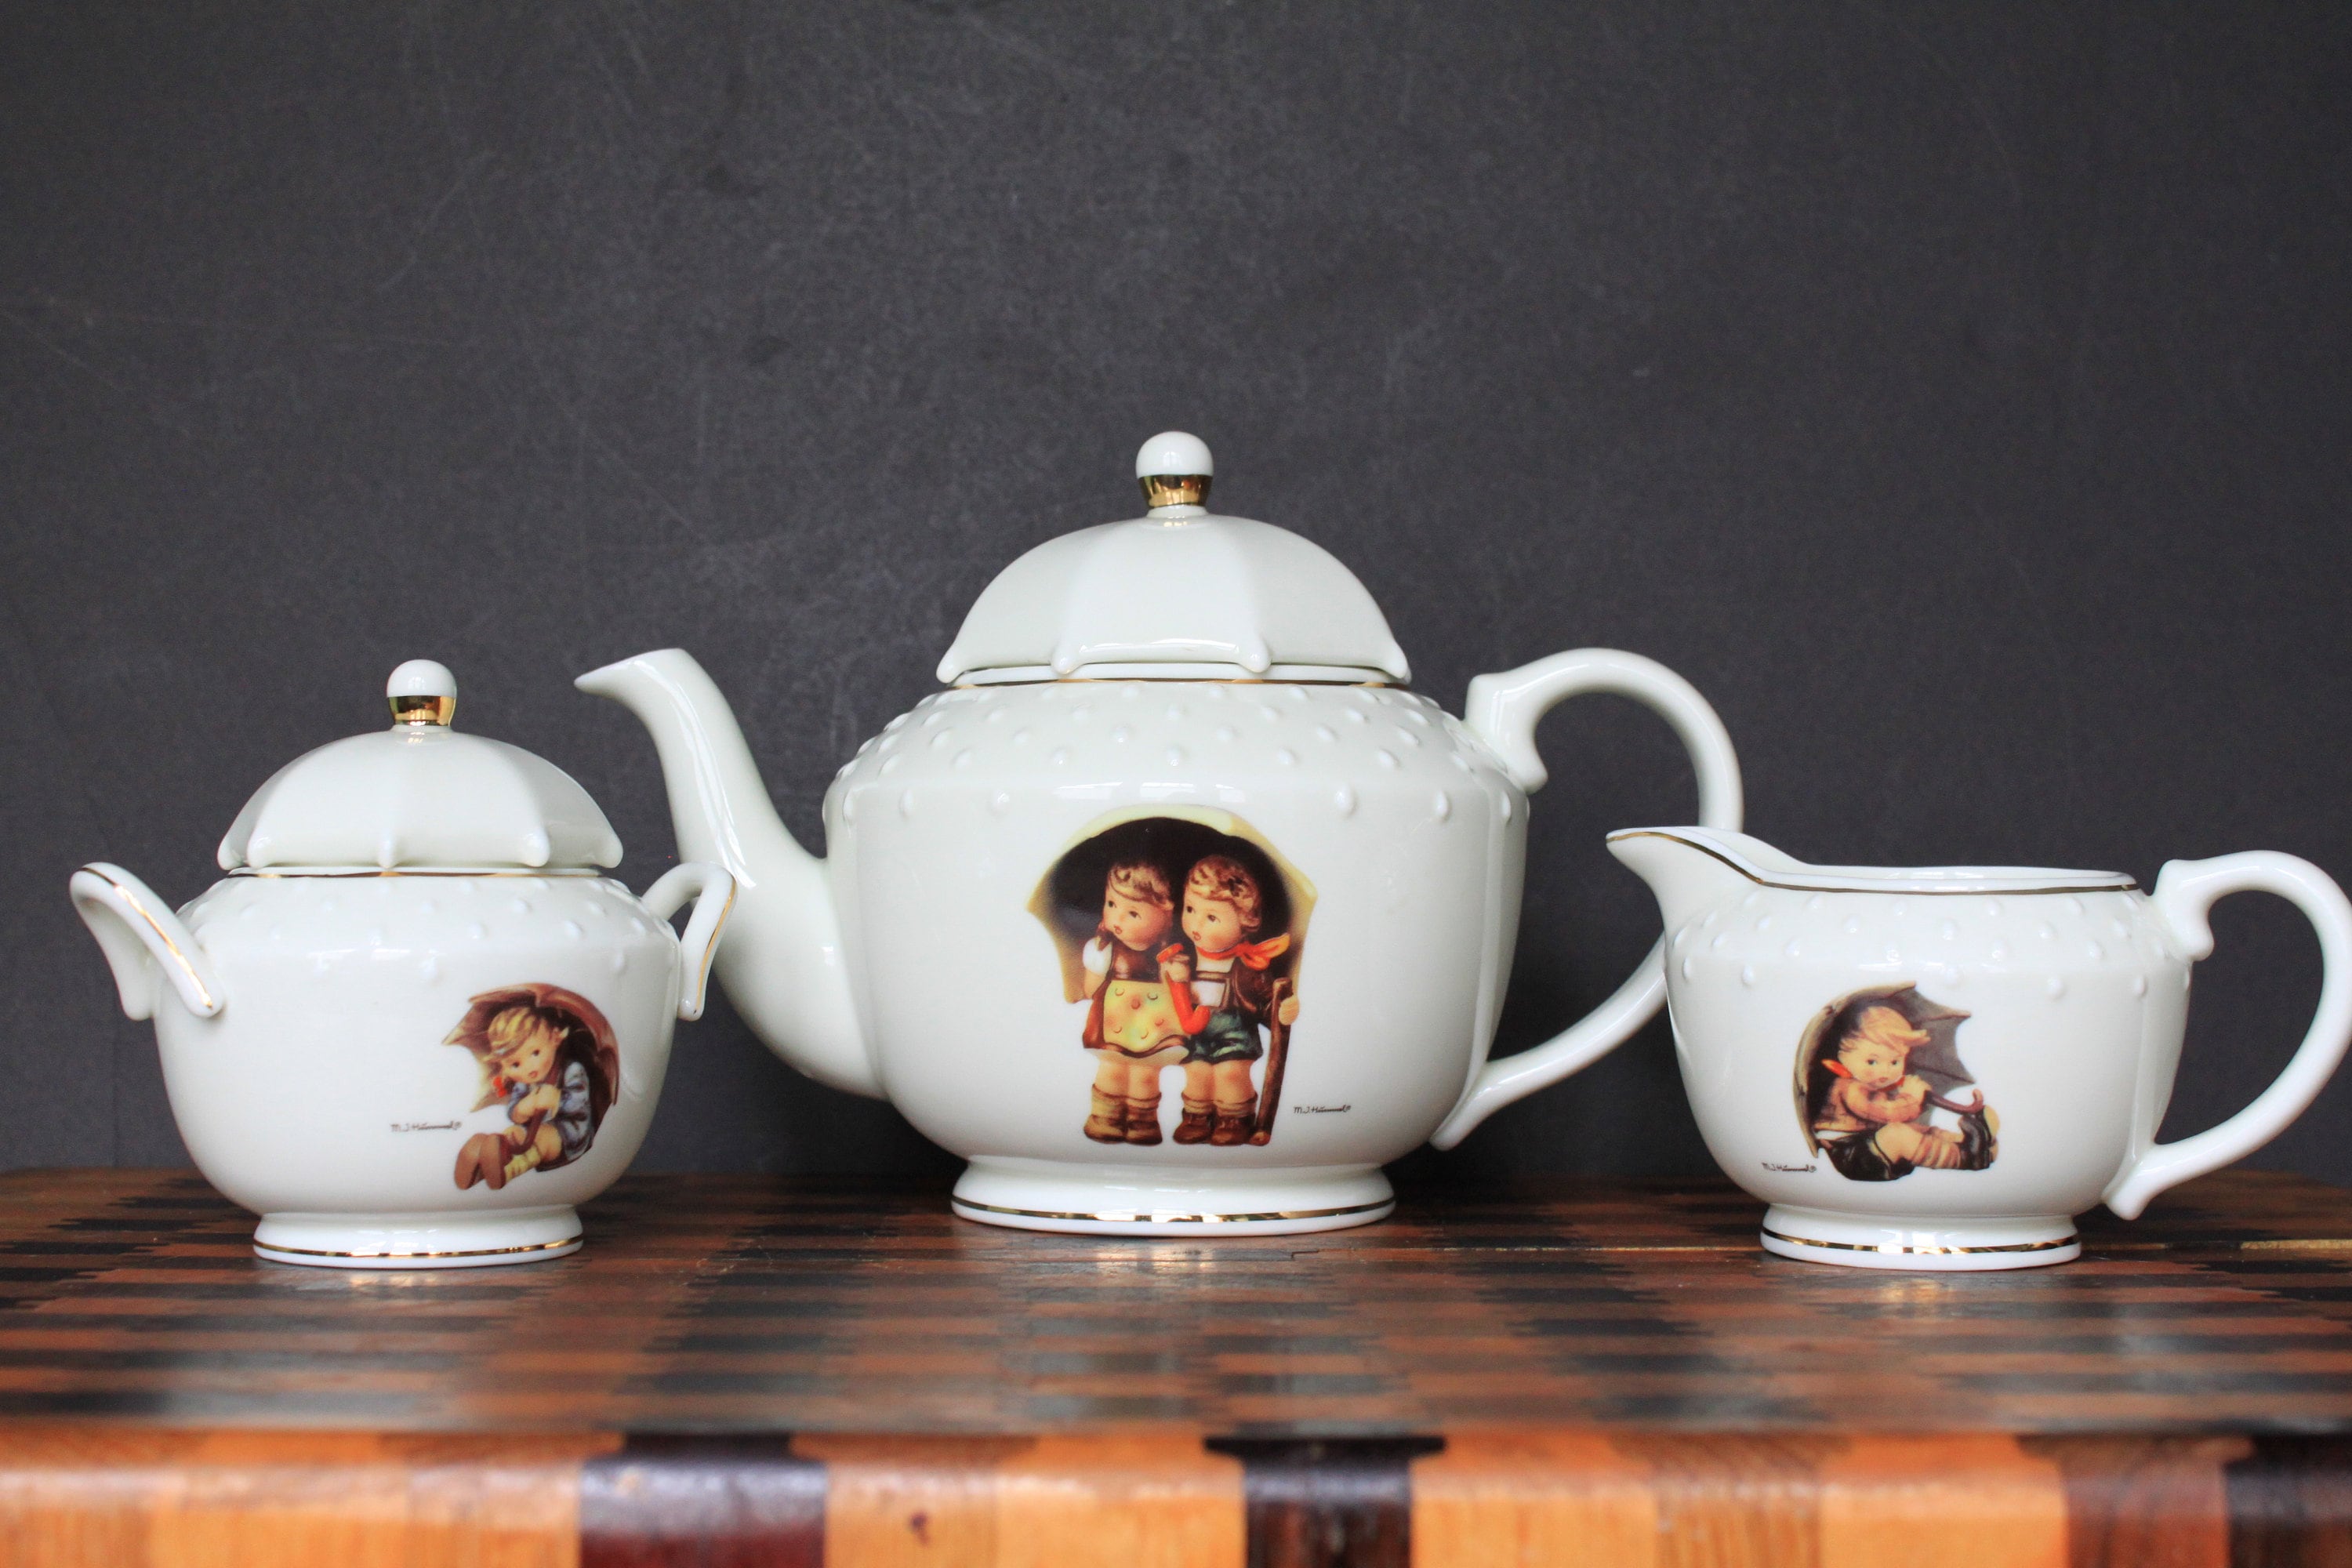
First, I needed to figure out what I even needed. Obviously, a tea set – cups, saucers, a teapot, maybe a sugar bowl and creamer. I went to a thrift store and found some plain white ones. Score! They were super cheap, like a dollar a piece. I made sure they were all in good shape, no cracks or chips.
Then came the “hummel” part. Now, I’m not about to use real Hummel figurines, those things are expensive! So, I went online and found some images – you know, those cute kids, rosy cheeks, the whole deal. I printed them out on regular paper, making sure they were the right size for my tea set.
Next up: Mod Podge. This stuff is like magic glue for crafters. I got the glossy kind, because I wanted the tea set to have a nice, shiny finish. I carefully cut out the Hummel images, trying to get as close to the edges as possible. This took some patience, I’m not gonna lie.
Then, I brushed a thin layer of Mod Podge onto the back of each image and stuck it onto the tea set. I used my fingers to smooth out any wrinkles or bubbles. It’s kinda like putting on a sticker, but you gotta be extra careful because the paper is thin and the Mod Podge is wet.
After I got all the images on, I brushed another layer of Mod Podge over the entire surface of each piece – cups, saucers, everything. This seals the images and gives it that glossy look. It also makes it a bit more durable, I guess.
Then came the hardest part: waiting. I had to let the whole thing dry completely, which took like, 24 hours. I’m super impatient, so this was torture. I kept poking it to see if it was dry, which probably wasn’t the best idea.
Once it was finally dry, I checked for any spots I might have missed and added another thin coat of Mod Podge. It’s not perfect, there are a few tiny imperfections, but overall, I’m pretty happy with how it turned out! It looks pretty cute, and it was a fun project. I haven’t actually used it for tea yet – I’m a little scared to wash it, to be honest. Maybe it’ll just be a decorative thing. Or maybe I’ll be brave and hand-wash it very, very carefully.
I’m sure it’s pretty good for holding up for a long time. It’s totally something I made with my hands, and also learned something during it’s processing. It’s a great experience!
© Copyright 2025 Qianwei Tea | Theme developed by sitemap